
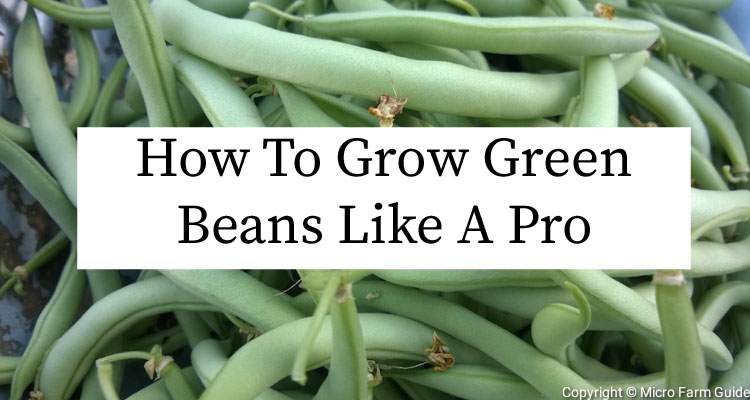
Growing green beans is a fun and rewarding experience you can enjoy throughout the gardening season.
It all starts with planting little seeds… And, before you know it, you’re harvesting baskets of delicious green pods.
Of course, there are some things you’ll have to do to ensure your plants grow happy and healthy.
In this article, we’ll guide you through each step, making it easy to grow green beans like a pro, even if this is your first time.
So, without further ado, let’s get started with the first step.
Step 1. Choose The Right Spot
To begin, select a location that receives at least 6 hours of direct sunlight daily, where the soil is well-drained and full of organic material.
Bean plants love the sunlight and will lean or climb towards it if needed. As a result, they tend to grow best in open fields, or sun-ward facing gardens.
However, they are not too picky about the quality of the soil since they actually help to improve it over time. So, don’t worry if the soil in your garden isn’t ideal.
Also, if you do not have much space to create a garden, you can visit our Free Home Gardening Mini-Course to learn how to grow beans and other vegetable in containers.
Step 2. Select The Type Of Green Beans
Next, choose the type of beans that suits your taste and available space. For example, bush beans are great for small gardens or pots, while pole beans love to climb on trellises.
There are countless organic, heirloom, and hybrid varieties to choose from. So, you can pick up a few packets at your local garden center or online.
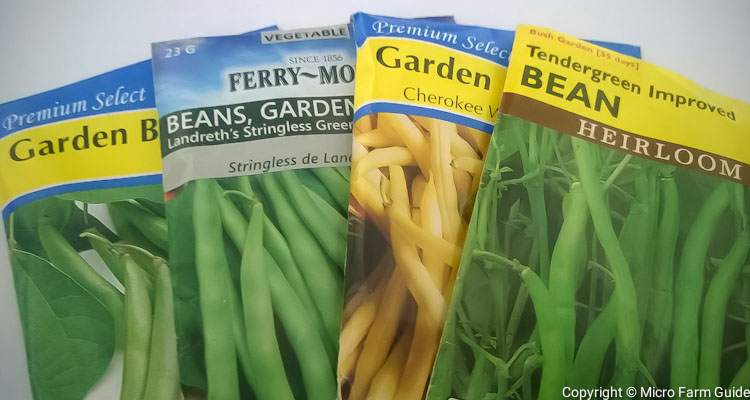
I usually grow Contender bush beans and Kentucky string beans on the farm since these are typically available in bulk.
But I really enjoy experimenting with other varieties whenever I get the chance. You’ll be amazed what you can learn by simply testing different varieties.
Step 3. Collect Your Seeds And Other Planting Materials
Gather your seeds and planting materials after deciding the location and your chosen varieties.
Generally, you’ll only need some seeds and a machete to plant your beans. But it’s always a good idea to have access to a garden fork and some compost just in case.
Additionally, Pole beans require suitable supports — a stake or trellis system will do the trick.
You do not need to get fancy. You can even use sticks or branches to create some sturdy supports.
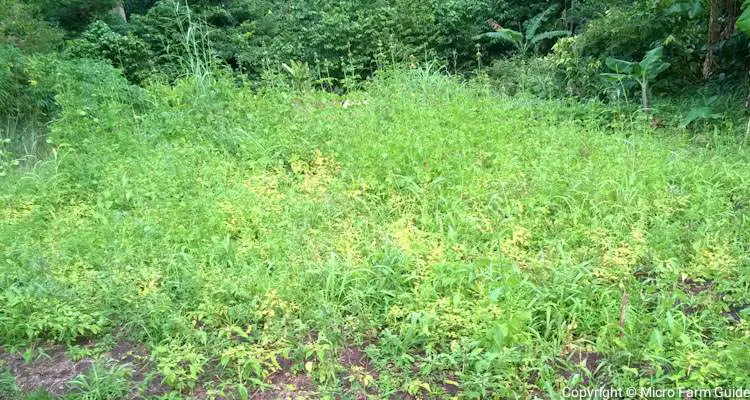
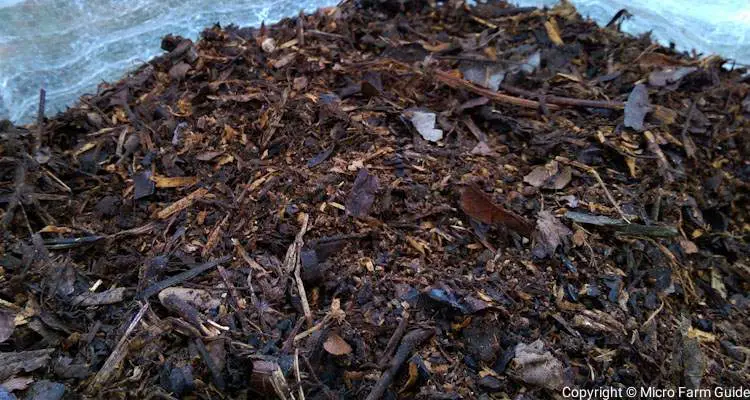
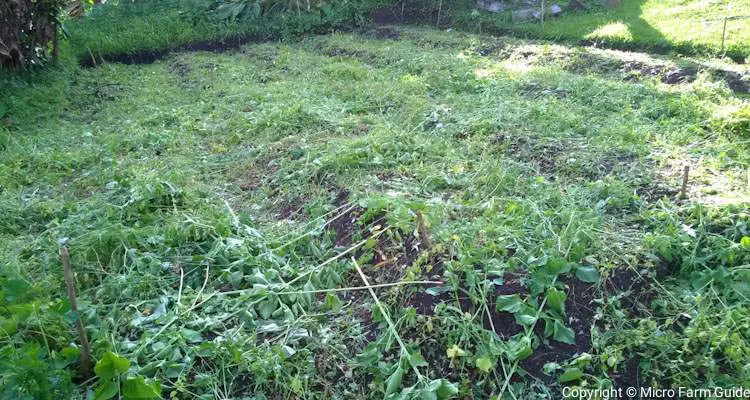
Step 4. Prepare The Land For Planting
Green beans love to grow in moist, loose, well-drained soil. But they will grow ok in just about any soil, so long as it is not too soggy.
Cut overgrown bushes or cover crops, and spread the trimmings over the planting area as mulch.
This mulch will help protect the soil from evaporation and ensure that your beans receive constant moisture.
Afterward, you can water the entire area and add microorganism solutions if necessary. Then, it’s time to move on to the fun part.
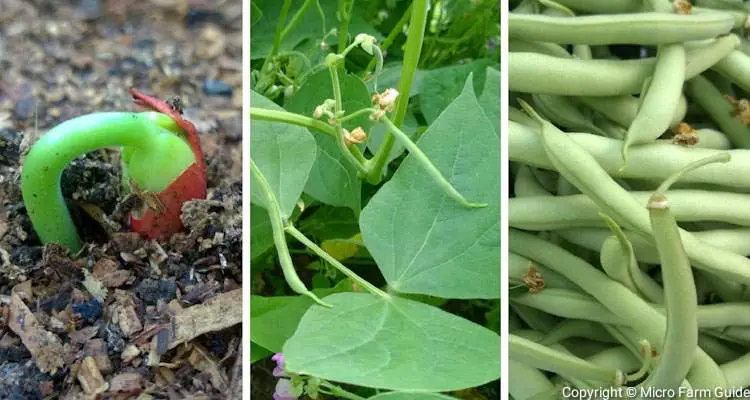
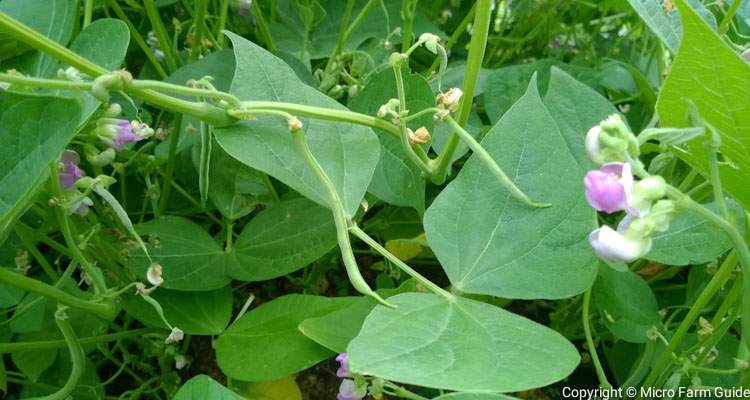
Step 5. Plant The Bean Seeds
Sow your bean seeds following the instructions on the seed packet.
Ensure you plant them at the correct depth and spacing for the specific variety, and cover them gently with soil.
You can erect stakes or other supports at this point to avoid disturbing established rooting systems in the future.
However, we’ll discuss this in more detail in Step 7. All for now, let’s focus on how to care for your little seedlings.
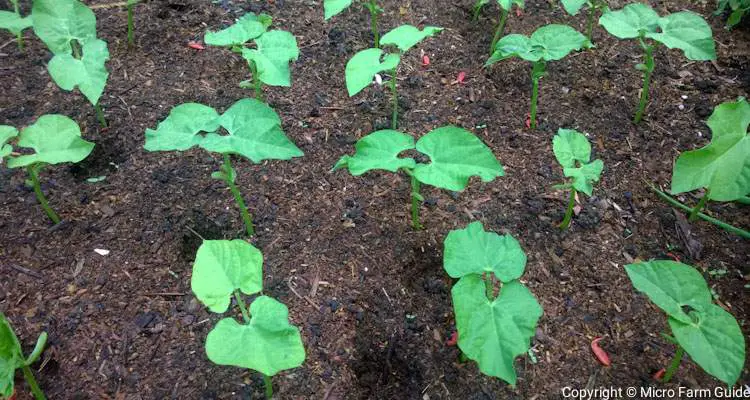
Step 6. Watering and Care
Once planted, water your seeds gently but thoroughly.
Keep an eye out for those little sprouts – They’ll pop out of the soil in a couple days.
Water your bean plants regularly to keep the soil moist — But don’t overdo it; beans don’t like wet feet.
You can create a watering schedule, but I prefer to monitor the soil daily, and water only when the top inch or two of the soil is dry.
Mulching will help retain moisture but will not prevent the soil from drying out on scorching hot days or during extended dry spells. Keep this in mind!
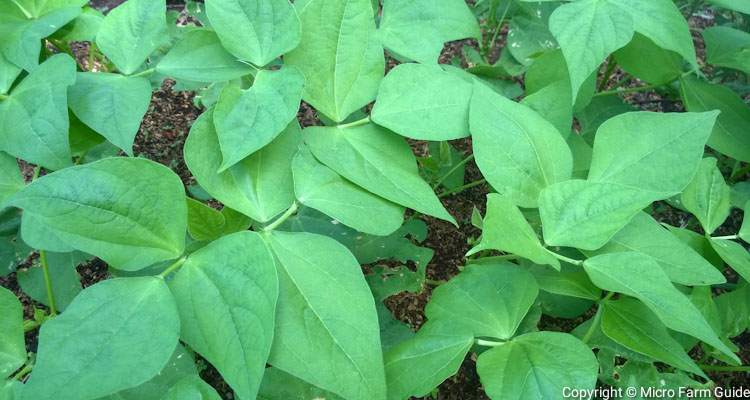
Step 7. Adding Support (For Pole Beans)
Provide your pole beans with suitable sticks, stakes, or a trellis to climb up. These will help keep them from falling over and makes harvesting easier.
You can purchase stakes and trellises from your local garden center or make them using branches or repurposed materials.
As your pole beans grow, they will send out tendrils, seeking something to wrap around and climb.
So, place these supports next to the base of the plant, and they will do the rest.
Step 8. Monitor And Manage Pests
Check your plants regularly for unwanted pests such as potato bugs and grasshoppers.
You can use safe and natural pest control methods such as Neem oil to protect your plants from harmful bugs. However, these are not a one-size-fits-all solution.
For example, in recent years, I’ve had some visiting Black Cuckoo birds, Crotophaga Major, help manage stink bugs and other insects on the farm.
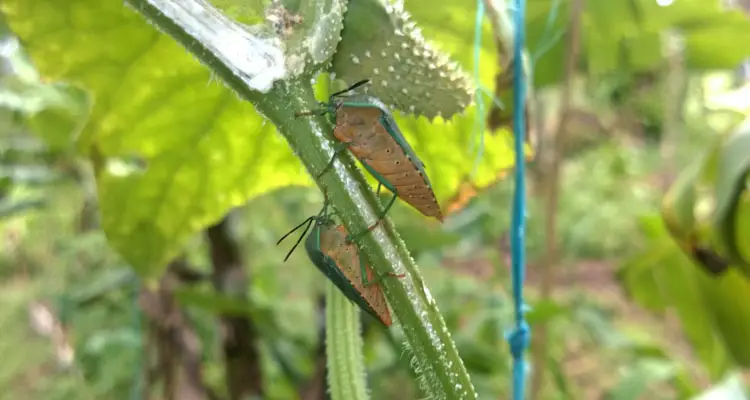
Of course, these pests will vary from country to country, and sometimes, you may not have any at all.
But, still monitor your beans, especially after they start to produce young pods, and be prepared to act if necessary.
Step 9. Harvest Your Green Beans
Green beans usually take about two months to grow from seeds to ready-to-harvest veggies.
So, wait until they are the right size and color, based on the variety — some are not green at all, with others growing up to one meter long!
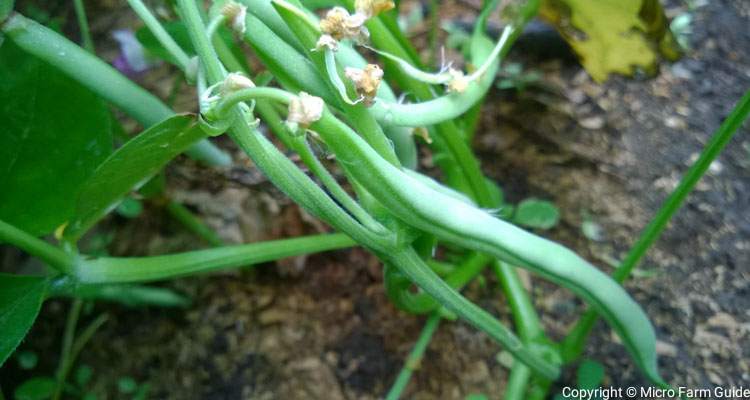
Once the beans are ready, you must pick them often to encourage the plant to produce more pods.
You can harvest them by gently turning the pod upwards and away from the plant. The stem of the pods will usually snap right off without much effort.
However, if they are more rigid than expected, use a sharp knife or small scissors to snip them off.
Tips For Storing Green Beans
You can enjoy your freshly picked green beans immediately or store them in the refrigerator for later. Follow the instructions below if you wish to keep the extra pods:
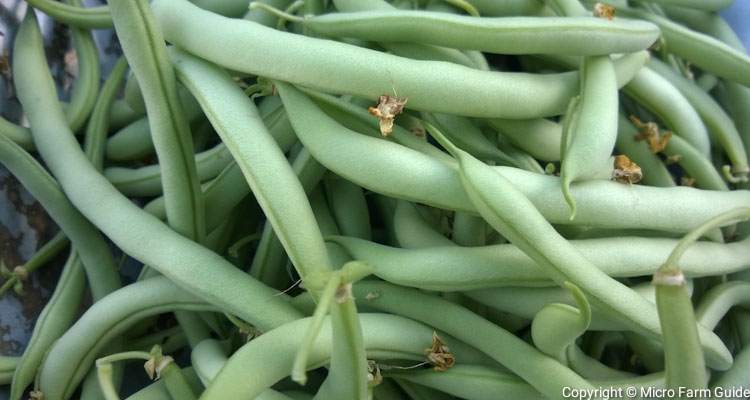
- First, you must clean the beans by rinsing off any dirt. And removing the “string” in the case of string beans.
- Allow the beans to air dry, cut them into 1-inch long pieces, and place them in a sealed bag.
- Place the bag in the freezer and use it whenever you wish.
I prefer to dry the beans before cutting to remain loose even after freezing.
Conclusion
And that’s our easy step-by-step guide to growing green beans like a pro!
We’ve covered everything from finding a suitable location to harvesting those fresh, crunchy pods.
Now, are you ready to give it a try? It’s truly a satisfying experience!
If you have questions or want to share your results, please message us via our Contact Us Page. Happy gardening!
Related Questions
1. How long does it take for green beans to grow?
Green beans typically take about 50 to 60 days to grow from seeds to harvest-ready pods. However, you must check the seed packet for the expected size and color.
2. How do you grow green beans successfully?
To grow green beans successfully, choose a sunny spot, plant seeds at the proper depth, keep the soil moist but not soggy, and provide support as they grow.
3. What is the best fertilizer for green beans?
The best fertilizer for green beans is a balanced or low-nitrogen natural fertilizer. It will give them the necessary nutrients without stimulating excessive vegetative growth.
References
South Dakota State University Extension. Green Beans: How To Grow It. extension.sdstate.edu. Accessed October 2023
Utah State University. How To Grow Beans In Your Garden. extension.usu.edu. Accessed October 2023