
Are you looking for a simple yet realistic way to start a Permaculture Garden with limited space and resources? Then, this guide is for you.
In recent years, gardening has been virtually romanticized, with enthusiasts eager to showcase their projects on various social media platforms.
Unfortunately, these postings seldom tell the whole story, omitting the amount of knowledge, effort, and resources needed to create these masterpieces.
While I agree that gardening can be fun, we need to have a balanced view of the process before starting our projects or risk becoming overwhelmed… It is not a good feeling!
However, you don’t have to worry. This article will explain how you can start a Permaculture garden, from planning to planting. I’ve included the guiding principles and links to supporting articles, with detailed instructions on how to plant and expand your garden in the future.
Before We Get Started, Let’s Define “Permaculture Garden”
A Permaculture garden follows specific principles to efficiently produce food, fuel, fiber, and medicinal products, using available resources.
As a result, each Permaculture garden is unique. It can be as small as a balcony or large enough to cover thousands of acres. Initially, we are going to focus on the small end of the scale and gradually increase our system to a size we can comfortably manage.
Now that we are on the same page, here’s how to start a Permaculture Garden based on how we do things here at Micro Farm Guide.
See Also: What Are The 12 Permaculture Principles? A Practical Explanation
Step 1: Research, Observe, And Brainstorm
The first thing you need to do is to gather as much information as possible about Permaculture as it relates to your area and resources.
In this step, you should make a note of your available planting area, time, money, and knowledge. You can also use this time to find out about the price of materials in your area. Remember, each garden is unique to your situation.

Allocate some time to observe and choose suitable planting locations. Ideally, you want a high-traffic area closest to your kitchen than has access to water and 6 to 8 hours of sunlight. This might be a porch, balcony, rooftop, or small plot of land in your backyard.
Make a note of microclimates created by trees, buildings, and other structures that cast a shadow. Identify which locations would require the least amount of effort to grow the plants. For example, it would be best to choose a sunny spot as opposed to one that remains in the shadow of the house all day long.
Think about which method you should use to grow your food based on the location and resources. For instance, in places with limited space or poor soil, you might choose to use containers or raised beds to avoid unnecessary work amending soil.
Note: While you intend to improve the soil in due time, initially, your aim is to obtain a yield. This will motivate you to keep going long enough to expand your garden, improving the surroundings in the process.
Step 2: Choose Plants For Your Guilds
Now that you have an idea of the size and location of your garden, it’s time to choose the plants you intend to grow.
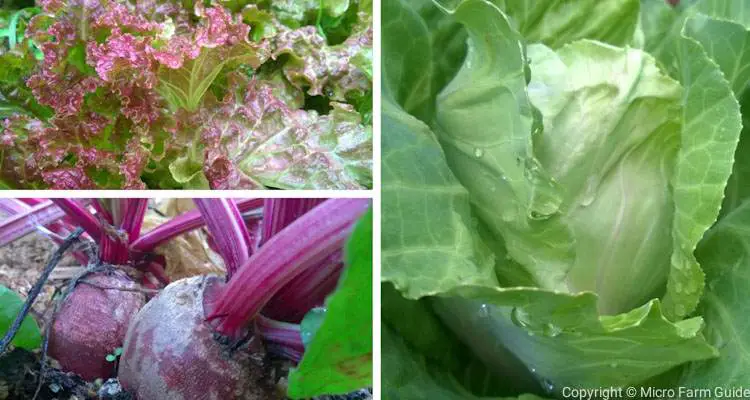
Ideally, you should choose a combination of fruits, vegetables, herbs, flowers, and supporting trees. The exact plants will vary based on your climate and space, but don’t let size limit you too much. Remember, there are such things as dwarf varieties.
Your aim is to grow a diversity of plants in your chosen area. Choose plants from different families and heights and with varying requirements of nutrients.
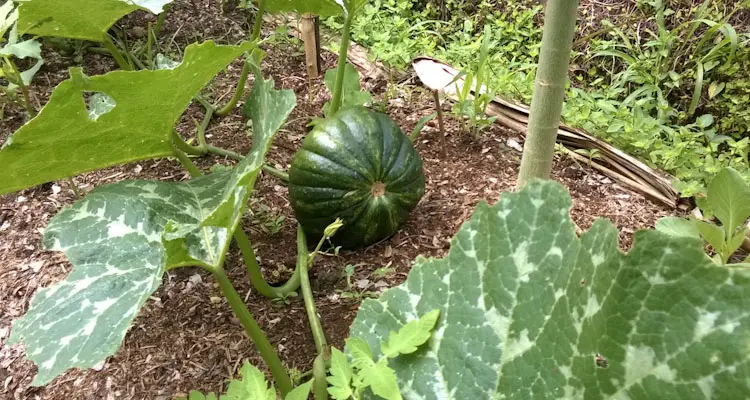
Don’t worry if you only have a patio or rooftop to work with. Remember, you can even grow highly productive fruit trees in containers. While they may not get the benefit from natural succession as an in-ground system, they can still provide multiple functions.
I’m sure by now you realize that it all comes down to acquiring helpful knowledge of the system you want to create. This makes the process so much more fun for everyone involved.
Step 3: Design Your Garden
Permaculture Design Principles suggest that you should set up your garden near to your home. Still, they do not dictate the exact design, so feel free to get creative.
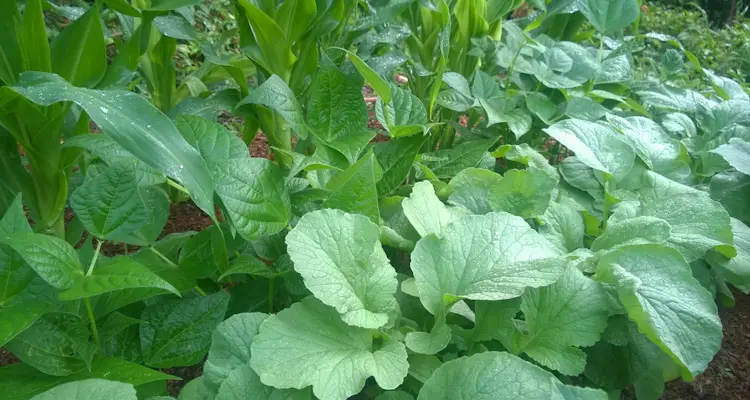
Ensure that you have easy access and a free flow of water, air, and light throughout the garden. Plants should have enough space between them to prevent competition and enhance cooperation.
Most importantly, design your garden so that you are comfortable working within it. As a result, you might choose to use raised beds, stands, and containers if you have difficulty bending over.
There are tons of Permaculture garden designs online to choose from. I really like the herb spirals and fantastic terraces. If you want, you can even look into how to create a Syntropic Garden for additional ideas.
Ultimately, design your garden to suit your needs, allowing the Permaculture principles to guide your decision-making process. Many people underestimate the amount of work required to produce food and overestimate the growing space needed.
Step 4: Prepare The Planting Area
For this step, I’m going to share a trick I learned some years ago. Work above, not below. In other words, you are going to use the no-till approach. This will save you a lot of time and energy but will cost some money initially. Hence the importance of starting small.
- Mark out an area of about 16 square feet, then place two to three sheets of biodegradable material such as cardboard on the surface.
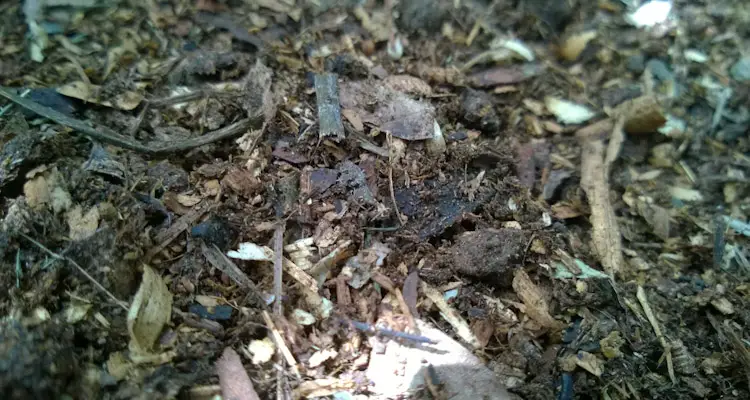
- Pour well-rotted compost over the area until it is about 4” to 6” high. You can use boards, bricks, or other materials to hold it in place. Your planting area is now complete.
In urban settings, you can use containers and fill them with an organic potting mix. You can purchase nursery pots ranging in size from 6” to 22”. These pots are affordable, durable, and usually easy to find. You can use virtually any container, just ensure they are food safe and treated to withstand UV rays.
Note: In the case of the pots, you do not need to prepare them until you are ready to transplant the seedlings. Just ensure you have enough to cover at least 16 square feet.
Step 5: Sow Seeds And Plant Seedlings
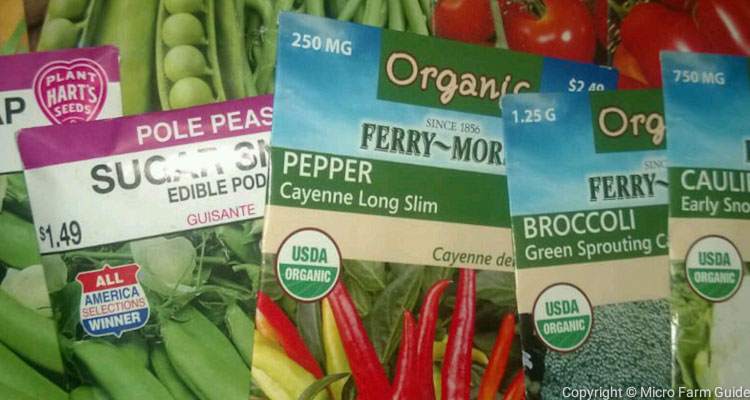
One of the primary skill sets you’ll have to master sooner or later is how to grow plants from seeds and cuttings. However, I will suggest that you purchase seedlings from your local plant nursery while you are getting the hang of this.
After purchasing your seedlings, you should harden them off before transplanting by placing them close to the growing area for 3 to 5 days, watering when necessary.
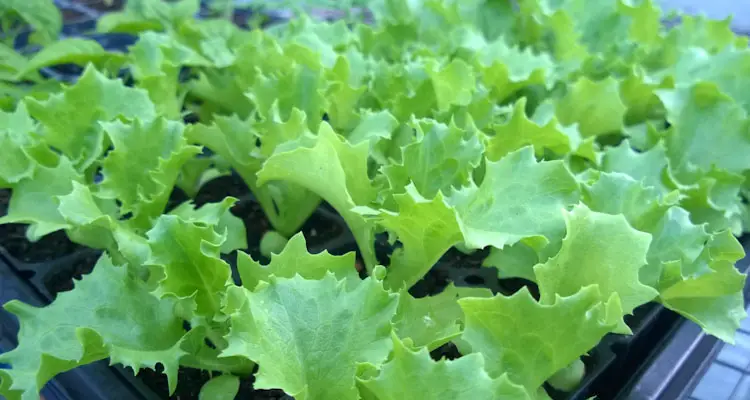
Once hardened, transplant the seedlings into the planting area, using the suggested spacing. Water them afterward and when necessary from that day onwards.
See Also: How To Grow Tasty Lettuce (Even It’s Hot Outside)
Step 6: Set Up Your Compost Area
With your plants in the ground, it is now time to ensure they get the nutrients they need to grow healthy. Initially, you might purchase a balanced organic fertilizer to get things going, but this is not sustainable. So let’s make our own. While you’re at it, you will create an ongoing supply of fertile soil as well.
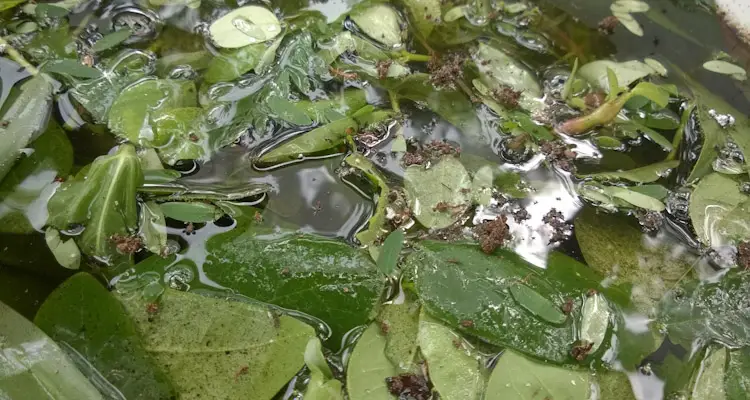
The first and easiest fertilizer you should consider making is JADAM Liquid Fertilizer. You can make this with wild grasses, food scraps, etc. This can be ready in as little as 7 days, in time for your first fertilizer application.
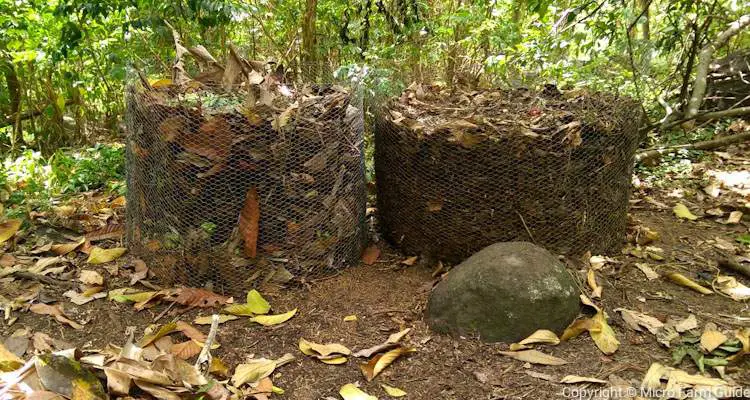
While you’re waiting on the JLF, I would suggest that you look into a suitable composting solution. From now onward, you do not want to throw away any food scraps, leaves, etc. If you live in an apartment or have limited space, then the Bokashi composting system should be perfect.
There are numerous composting systems to choose from. Alternatively, you can choose the DIY route if you have the time, but I would avoid this if you have a full-time job. Use your spare time to rest and tend to your garden instead.
In the future, feel free to experiment with more advanced composting methods such as vermicomposting. However, be careful not to try too many things at once. Treat it more like a marathon than a sprint. Pace yourself!
Step 7: Research, Experiment, Expand
Once everything is set up, your journey has just begun. It is now time to learn from observation and additional research.
Take a few minutes each week to develop your skills in seed starting, composting, pruning, and other technical and philosophical aspects of Permaculture. Study the principles, then look for ways you can improve your garden.
By the time you’ve made your first harvest, you will have gained a wealth of knowledge and practical experience. Most importantly, you should be able to tell if you have the desire and resources necessary to expand.
Final Thoughts
A Permaculture Garden is a highly productive food system that provides a diverse harvest of food, fuel, medicine, and fiber. It is unique to the resources of the practitioners, climate, community, and terrain in which it is developed.
When creating a Permaculture Garden, it is essential to be realistic about your goals and resources. As a result, you should avoid the temptation to compare your garden to those in different regions showcased online.
While they may look different, these gardens are all based on similar Permaculture Principles and, in many cases, use similar techniques and strategies. As a result, they also share general functions and objectives.
Related Questions
How Do I Turn My Lawn Into A Permaculture Garden?
You will first have to smother the grass with a thick layer of biodegradable material such as cardboard. Then layer some fresh and dried materials before adding a thick layer of compost, followed by mulch. Plant your seedlings into the compost, allowing the grass and other material to decompose over time.
References
Permaculture Association. Permaculture Principles. permaculture.org. Accessed July 2022
Mollison, Bill and Reny Mia Slay, Introduction To Permaculture, Tamari Publications. 1991
Brighton Permaculture Trust. Permaculture Principles. brightonpermaculture.org.uk. Accessed June 2022
Edible Evanston. Permaculture Principles. edibleevanston.org. Accessed June 2022