
Do you want to grow lettuce but are afraid it will bolt or taste bitter due to the temperature outside? The “trick” is to get it acclimated from day one.
This approach allowed us to grow tasty, crispy lettuce during some of the hottest and driest months ever experienced on our island.

During this time, we were able to supply new customers, who were astonished by the quality of the leaves.
In this post, I’ll run you through our step-by-step process of growing the best lettuce possible, even in less than ideal conditions.
Step 1: Collect Materials And Equipment
To grow lettuce, you will need to collect and purchase a few items. Chances are you already have some of these. If not, just remember that you will also be using most of the equipment to grow your other plants.
Here is a list of items you will need. I’ve also included links to instructions on making organic fertilizer and other soil amendments at home.
| Items | Details |
| Lettuce Seeds | Choose a variety you like to eat that suits your climate. |
| Tissue Paper | About one to two will do. |
| Small Container | Preferably flat with a lid. |
| Spray Bottle | A small spray can, about 500ml. |
| Potting Mix | Preferably with lots of permits for drainage and no additional fertilizer. |
| Seedling Tray | 72 or fewer cells per flat are ideal. |
| Pieces Of Cardboard | Large enough to cover the tray |
| Sealed Seedling Tray | It should be large enough for the trays to fit and sealed to hold water. |
| Watering Can | It should be light enough to lift full of water and have a shower nozzle |
| Hose | Long enough to move around the plant in my area. |
| Shower Nozzle or Wand | To gently sprinkle the seedlings/plants |
| Liquid Organic Fertilizer | View How To Make JLF for more info. |
| Compost & Mulching Material | Best to use organic material, but porous landscape fabric will do. |
| Microorganism Solution | View How To Make JMS for more info. |
| Garden Hand Tools | Hand Shovel, Garden Fork & Shovel, Pruning Shares or Scissors, etc. |
| Notepad or Calendar | For record-keeping |
| Pen And Masking Tape | To label your trays |
| Sharp Knife | For harvesting Crops |
| Large Tub | To soak and wash leaves after harvest |
| Clear Plastic Bags | To package lettuce after harvesting |
Remember to choose lettuce varieties that you like to eat and are well suited to your climate. For example, Instead of the traditional Iceberg, we primarily choose to grow Minetto and Rapid Red, better suited to tropical climates.
Note: While purchased seedlings are more convenient, they don’t seem to grow as well as those I sow myself. Besides, seeds allow us to experiment with several other types to add variety to our salad mixes.
Step 2: Pre-Germinate Lettuce Seeds
Most lettuce seeds do not germinate well if the temperature rises above 80°F. So to ensure better results, you can pre-germinate them indoors, using the tissue method.
Fold a sheet of tissue paper, then place it into a small container to cover the entire bottom.
Sprinkle some lettuce seeds onto the tissue. Space them as much as possible to ensure they don’t stick together.
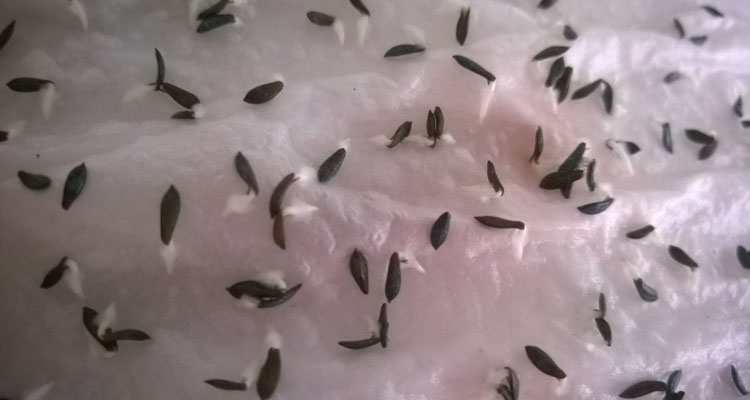
Spray the seed-covered tissue with some water. You can add the KNF Seed Soak solution if you wish. However, water works just fine.
Cover the container with the lid and place it in a cool area away from sunlight. Usually, I rest it at the side of my bed since it’s easier for me to see the container there.
You should notice a white root-like node emerging from the seed within 24 to 36 hours, signaling the time to move on to the next step.
Step 3: Sow Seeds Into Trays
Once the seeds have started germinating, half fill a large container with potting mix, preferably with a lot of perlite or vermiculite.
Moisten the potting mix by adding water, little by little, until the mixture becomes dark and fluffy. You want it moist, not soggy.
Fill the cells in the tray with moistened growing media. Slide your hand over the tray to remove excess material.
Gently tap the tray on the table. This should cause the starter mix to drop about ¼ inch from the top of the cells. Add some more “soil” to cells that dropped considerably.
Place two to three pre-germinated seeds towards the center of each cell, spacing them slightly. This space will come in handy soon. You can label the tray at this point using the masking tape and pen.
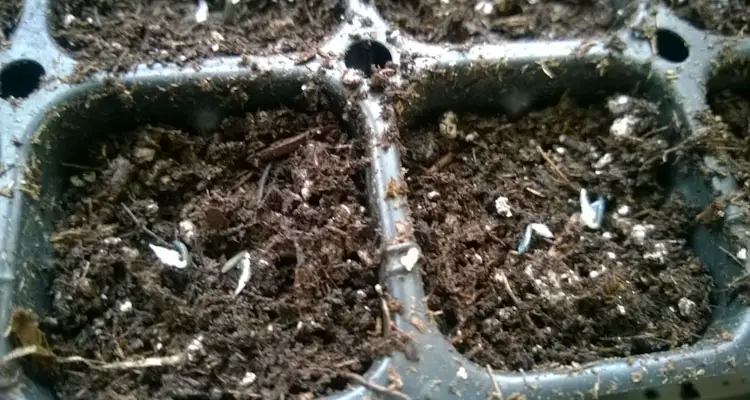
Loosely cover the tray and seeds with moistened material, forming a little mound. Gently press on the rise, then remove the excess media as before.
Fill the sealed container with 1″ of water and place the tray into it. Leave it there until the water wicks to the surface of the potting mix.
Remove the tray from the container and cover it with a firm sheet of cardboard. Place it in a cool, shaded area. The cardboard will allow you to stack your trays on top of each other.
Note: Ideally, you should choose a potting mix without “special additives” or fertilizers. A simple multipurpose potting mix will do the trick. However, read the ingredients in the potting mix to ensure you are not allergic to its content. If in doubt, please wear gloves and protective clothing when handling.
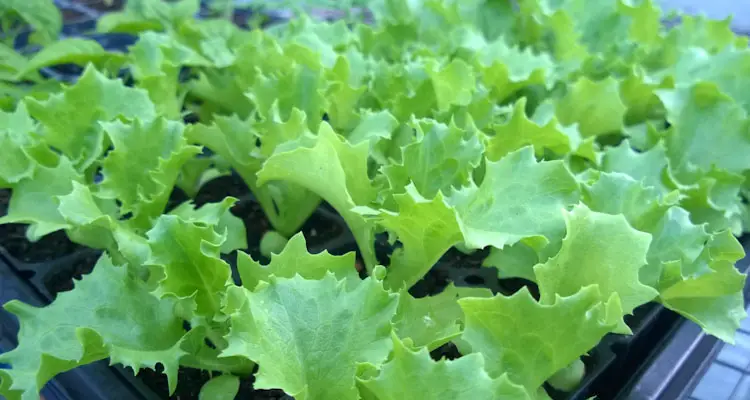
Step 4: Care For Seedling
Lettuce seedlings will emerge about 2 days after pre-germinated seeds are sown. Monitor this carefully and remove it from the shaded area at the first sign of germination.
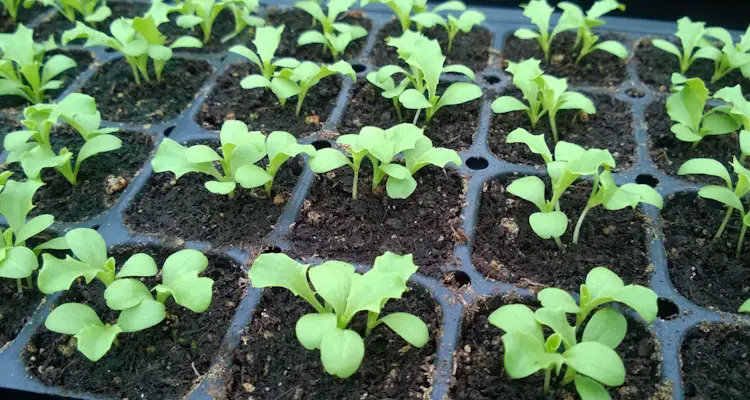
Place trays with newly-germinated seedlings in a sunny location or intense grow light if you intend to grow indoors. This allows the newly emerged seedling to get accustomed to the environment from day one. However, ensure you protect them from rainfall.
Look at the trays daily, monitoring for signs that the potting mix is drying out. If the mixture becomes light brown and the tray is noticeably lighter, it’s time to water your seedlings.
Water the tray from the bottom if possible by placing it inside the sealed tray as before. Use a shower-head nozzle if sub-irrigation is not feasible.
Apply organic liquid fertilizer the day after you notice the first set of true leaves and once per week after that. These leaves appear around day 7 and resemble actual lettuce leaves. Double dilute the mixture before adding to the seedlings since they are confined.
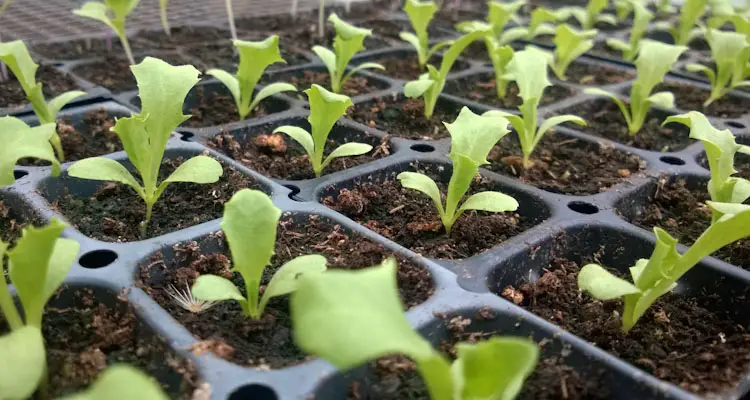
Thin the weaker seedlings in the second week using mini pruning shares or small scissors. This results in minimal disturbance to the other plant and stimulates growth.
Continue moving the seedlings to a well-lit location, watering only when necessary. Monitor the seedlings since they will require more water as they grow larger.
Your plants will be ready to transplant about 23 days after you sow the seeds. They should have 4 to 6 true leaves at this point. As this time approaches, you should proceed to the next step.
Step 5: Prepare Planting Area
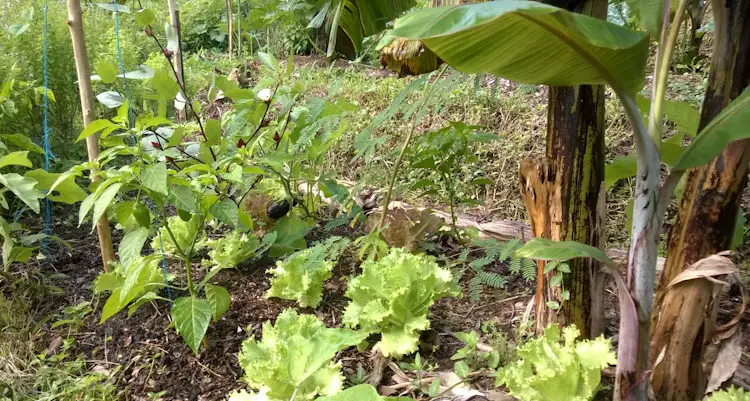
Lettuce is a leafy vegetable that grows best in well-drained, cool soil with a constant moisture supply. The soil should be loose enough to allow roots and air to move freely.
If your soil already has an excellent structure with organic material and is relatively easy to work with, then simply add some compost on top of the surface.
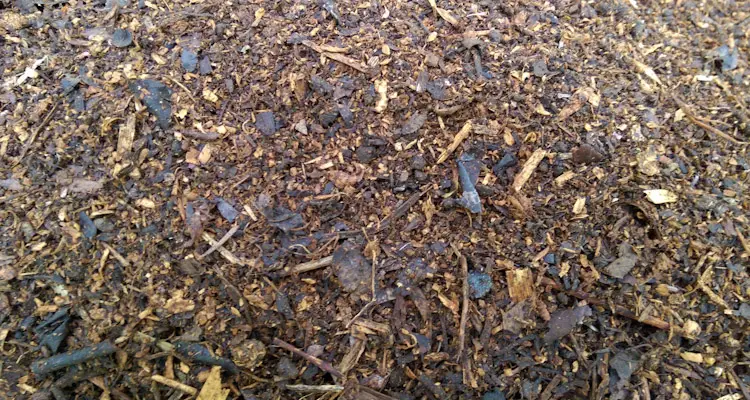
However, if you’re like most gardeners, you will need to first break the soil surface but do not turn it over. Then add a layer of compost to the surface.
Water the entire area deeply at least 4 times with a microbial input, such as JADAM Microorganism Solution or Jeevamrutha. These microbes will help improve the soil structure and fertility.
Weed and covered the soil with an additional layer of mulch a day or two before transplanting. You can use organic materials or breathable landscaping fabric with precut holes
Step 6: Transplant And Care For Plants
Before transplanting the seedlings, you should prime them by soaking them in diluted seed soak or liquid fertilizer solutions. Again, this is not necessary but seems to lessen the impact of transplant shock.
Remove the seedlings from the tray and transplant them into the ground at your preferred spacing. I usually plant them in a grid about 6 to 8 inches apart.
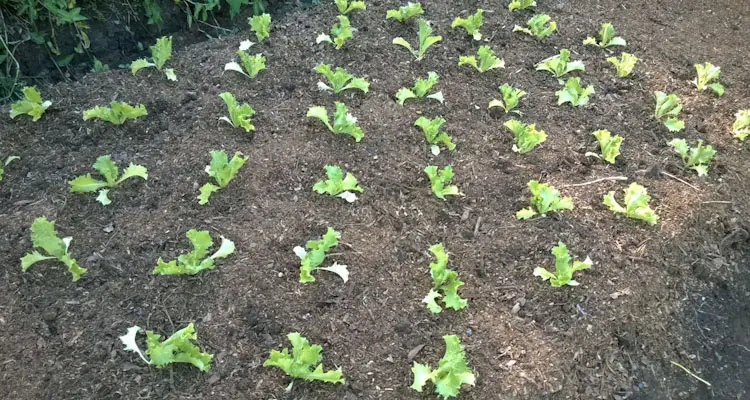
Water deeply with a mixture of JMS, JLF, and Water, or use one of the KNF Recipes outlined in the Nutritive Cycle Theory. This also helps to lessen transplant shock.
Monitor lettuce carefully, watering only when necessary, adjusting the amount and frequency based on the temperature and rainfall, if any.

Apply JLF or appropriate KNF solution once weekly to ensure that plants get enough nutrients. This is especially important during hot spells since excessive heat can hinder the plant’s ability to absorb and use calcium.
Step 7: Harvest And Storage
You can start to harvest your lettuce by the 3rd week after transplanting until the 5th, provided you want tasty, tender lettuce leaves.
Fill the large tub with cool water the night before you intend to harvest. This will ensure that it is nice and cold by morning.
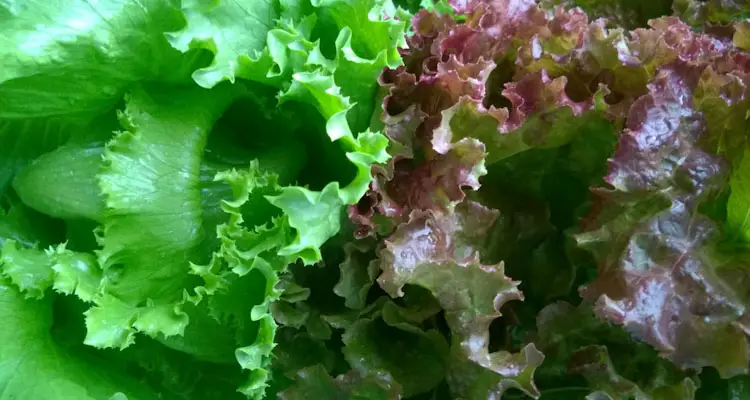
Harvest lettuce early in the morning before they are exposed to direct sunlight to ensure firm leaves.
Cut the entire head of lettuce off at the base without disturbing the soil. Use a sharp knife or pruning shares to make this task almost effortless.
Remover dirt and the first 4 to six outer leaves from the lettuce before submerging it in the tub of water. This will allow bugs or other creatures to float out between the leaves.
Inspect the lettuce for any damage or other critters. Then place it into an appropriate-sized plastic bag. I usually use a bag larger than the lettuce so as not to damage the leaves.
Drain excess water, then place the package into the crisper section of your refrigerator as soon as possible. This will allow the lettuce to remain fresh for a couple weeks.
Final Thoughts
Lettuce is one of the easiest plants to grow. It is a gateway for most beginners to get into commercial vegetable farming.
Unfortunately, it is sensitive to minor changes in the growing environment, resulting in bitter outcomes and potential losses.
However, by following the guide above and tweaking it based on your available resources, you should have a better chance of success in growing healthy, tasty lettuce for years to come.
Related Questions
How Long Does Lettuce Take To Grow?
Most lettuce varieties are harvested within 60 days of sowing, With some able to provide a continuous harvest for several weeks after this point. However, this time can be cut short in warmer climates since lettuce attempts to flower as the temperature increases.
Where Do Lettuce Seeds Come From?
Lettuce produce seeds after they flower in the latter stage of their growth. The exact timing depends on the variety and growing conditions. However, it is usually preceded by the growth a central flower stalk. The seed appears after the flowers die and can be collected after they dry.
References
Ministry Of Agriculture. How To Grow Lettuce. [PDF]. Accessed June 2022
Seeds Of Diversity. Saving Lettuce Seeds. [PDF] Accessed June 2022