
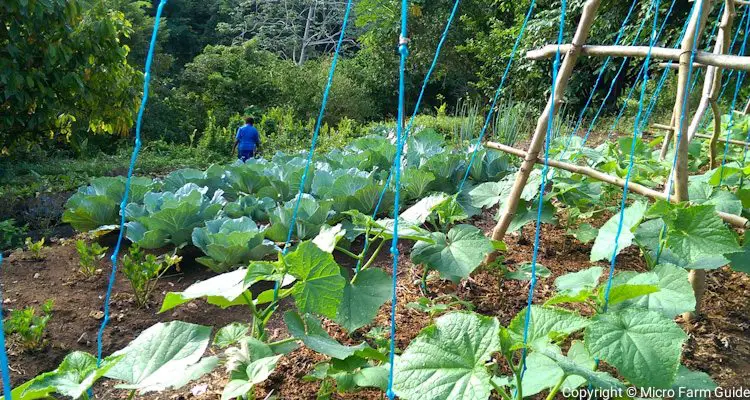
Are you looking for a simple, straightforward way to transform your farm into an eco-friendly food production system? Then you’re in the right place.
In this post, we’ll walk you through 7 simple steps to make transitioning to natural farming a breeze.
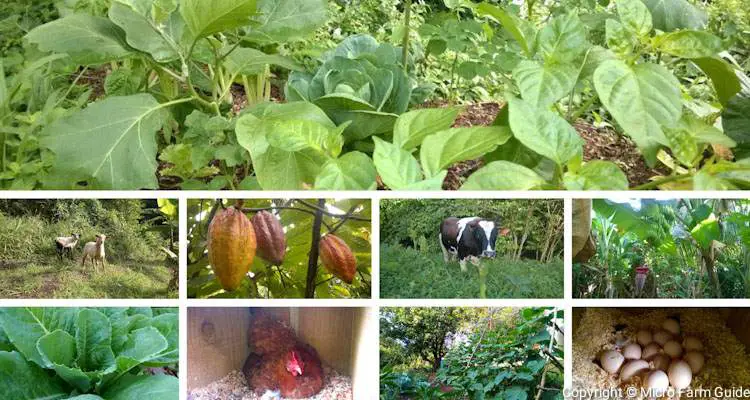
By the end of this guide, you’ll have a clear idea of how to convert your farm into a productive, integrated system — One capable of growing healthier crops while improving your soil and the environment.
So, let’s take a look at what this process entails. But before we make any changes, you must:
Step 1: Understand Natural Farming
First, let’s ensure we’re on the same page concerning natural farming.
In short, natural farming is a chemical-free approach to agriculture, which attempts to mimic nature’s processes to create a sustainable ecosystem.
Why is this important? The absence of synthetic fertilizers and pesticides means fewer chances of residue on food and positive environmental impact.
This also means that we will need to figure out other ways to provide our plants with natural fertilizers and protection from pests and diseases until our system can do so.
With this in mind, we then need to:
Step 2: Evaluate Your Current Farming Practices
Why? Because knowing where we are provides us with a proper starting point for our project.
Sometimes, our current techniques align with organic or natural farming practices, and we need to make minor adjustments.
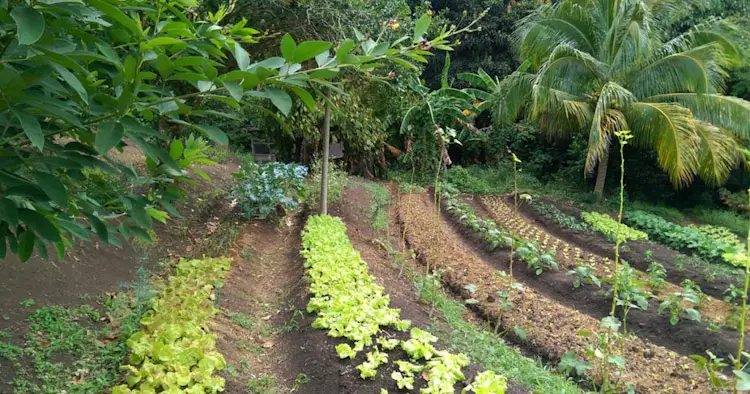
Nevertheless, you need to figure out the health of your soil. Are your crops struggling? Do you have problems with pests and weeds? These observations provide a wealth of information.
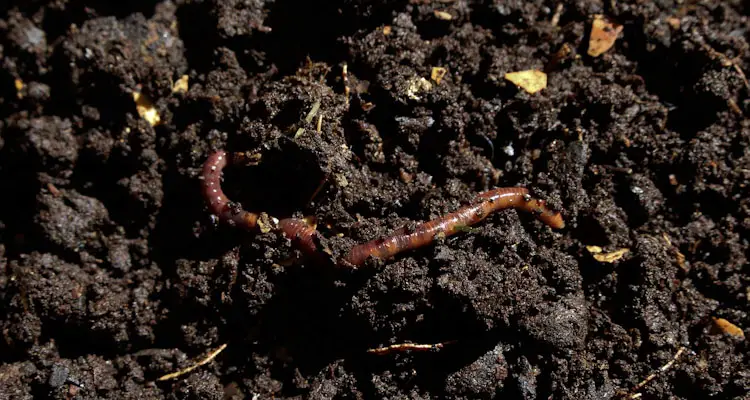
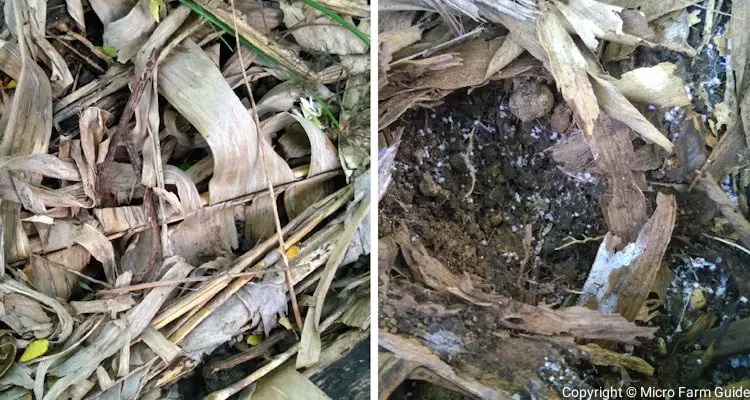
However, the only definite way to confirm the current health of your soil is to do a soil biology test.
This is where a soil technician places soil samples under a microscope and observes the types and ratios of microorganisms present.
Once you have a clear idea of the state of your soil and the current succession of your system, it’s time to:
Step 3: Research Natural Farming Systems
In natural farming, knowledge is power, especially when choosing a suitable system for your farm.
So, you will need to do some homework. Research the various natural farming systems such as:
Each system has specific techniques you’ll need to master, including composting, farm input production, weed control, and pest management.
Remember, while you can “mix and match” systems, it is always best to choose one you can follow without too many adjustments.
Now, I’m not saying that you need to know everything. Still, you should have an idea of the climate, equipment, costs, energy, and time it will take to set up and operate your farm.
After you decide on a natural farming system that meets your needs, you will then have to:
Step 4: Plan Your Transition
You need to set realistic goals and avoid unnecessary disruption to the operation of your current farm — especially if this is your primary source of income.
As a result, you will need to plan the changes you want to see on your farm now and in the future.
For example:
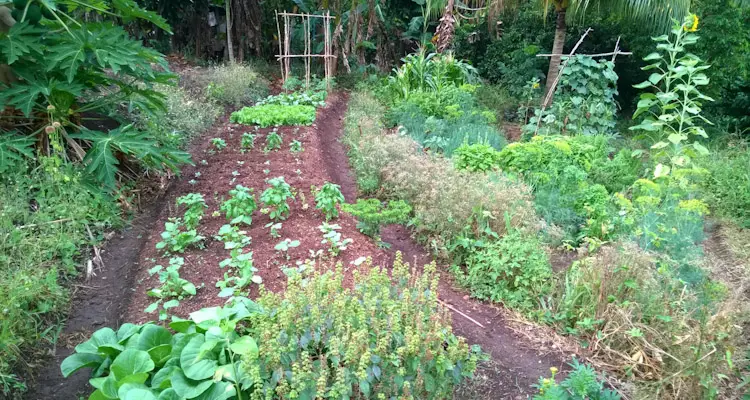
- Would you like to include short crops or more perennial herbs and spices?
- Do you need to make changes to the landscape to enhance water retention?
- Do you need to introduce support trees or biomass plants?
By answering these questions, you’ll have a clear idea of your next step — the actual work. However, you’ll need to ensure that you:
Step 5: Start with Small Changes
A successful natural farm results from completing several small tasks over time.
This ensures that you do not overwhelm yourself and allows you and the farm to adapt.
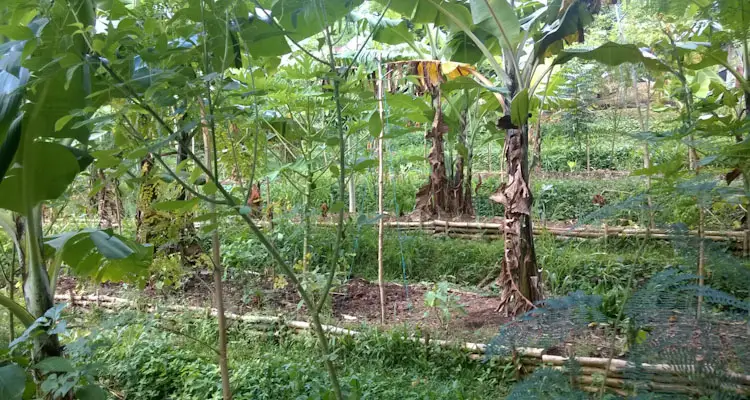
For example, if you decide to transition to syntropic system, you might wish to start by trimming “support trees” and cover crops in one section of the farm.
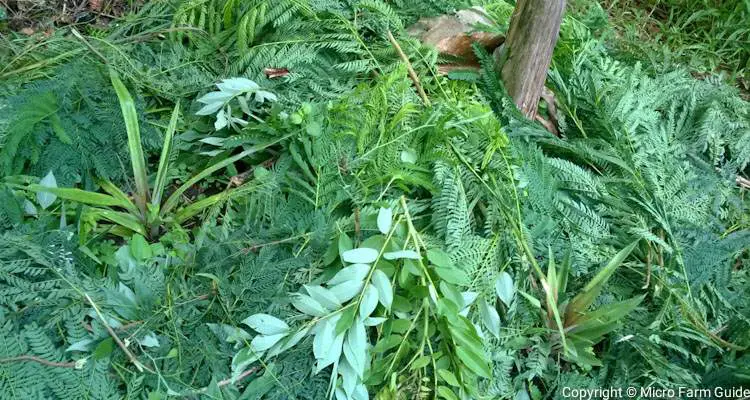
Then, use the trimmings to cover the ground as mulch and to create compost or liquid fertilizers.
These small tasks will serve as practical training as you prepare to:
Step 6: Implement Natural Farming Practices
Once you’ve gotten the hang of the basics, it’s time to put what you’ve learned into practice.
At this point, you aim to gradually implement natural framing techniques, building on advice from step 5.
Remember, it all starts with observation. For example, if you see exposed soil, cover it with mulch. If you notice overgrown vegetation, then prune the trees.
Over time, you’ll be stacking the techniques until you no longer rely on external agricultural inputs.
That said, the exact actions you take at this point will differ based on your chosen farming technique and the current farming practices. So, you will have to:
Step 7: Monitor and Adapt
I’ve mentioned this before, and I’ll restate it here again — observation is one of the keys to success in natural farming.
You will need to monitor your soil, crops, weeds, and pests to give you an overall idea of the well-being of your farm.
If something isn’t working, don’t be afraid to adapt and try a different approach.
Remember, natural farming is all about learning and growing with your land.
So, rely on feedback from nature to decide your next move.
Once you are vigilant in your observations and proactive in implementing suitable changes, your transition to natural farming will be pleasant.
Final Thoughts
Now that you know the basics of transitioning to natural farming, I must remind you that this takes time.
And while we are aiming for the same goal, our approach will differ slightly based on our current farming practices and the resources we have at our disposal.
As a result, you will need to take the time to research the necessary information and learn how to apply it to your specific situation.
To assist with this, you can check out our Natural Farming page. There, you’ll find several tips and information on natural farming techniques you can use to get you started on your adventure.
Related Question
1. How long does it take to transition to natural farming?
It can take between 3 and 5 years for farmers to fully transition to natural farming, depending on their current farming practices, the size of the farm, and the resources they have to dedicate to the project.
2. What are the pros and cons of switching to natural farming?
The main benefits of natural farming are healthier crops, soil, and environment. However, the process can be labor intensive and require a lot of organic material.
3. What are the disadvantages of natural farming?
High labor and initial set-up costs are two main disadvantages of natural farming. Sometimes, a lack of relevant knowledge of specific locations can add to the learning curve, making it necessary to fill in knowledge gaps with trial and error.
References
Niti Aayog. Natural Farming: Andhra Pradesh. naturalfarming.niti.gov.in. Accessed September 2023