Hi, welcome to an overview of my Kitchen Garden project.
Here, I’ll explain how I built a green oasis in my backyard, where I grow all sorts of goodies year-round.
But before we proceed, I must point out that this is not a step-by-step tutorial but a peek into the tools and processes I used to set up the system.
As you can see, my setup is far from fancy, but trust me, it’s all about working with what you’ve got.
In fact, due to the high cost of container gardening materials on my island, I had to improvise quite a bit.
This led me to use various natural farming practices, resulting in a more affordable and sustainable farming system.
Setting Up The System
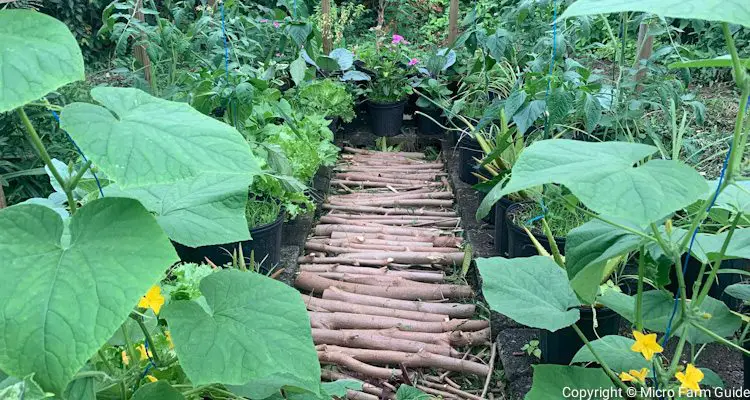
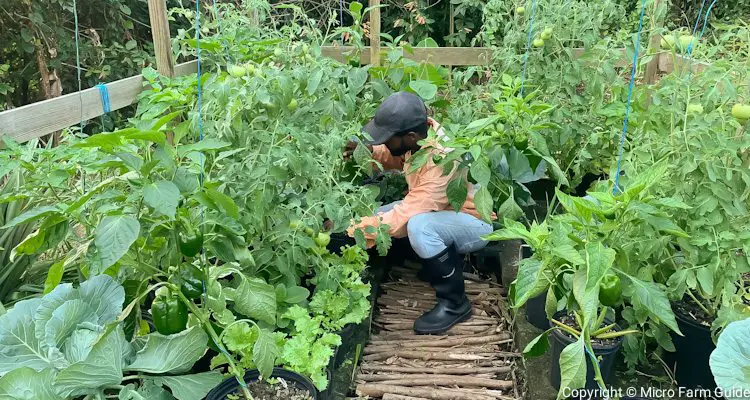
First, I set up my garden in an existing “greenhouse” frame.
I originally built this structure about 5 years ago as a seedling nursery, but the wind kept destroying the mesh material, so the frame was just there gathering dust.
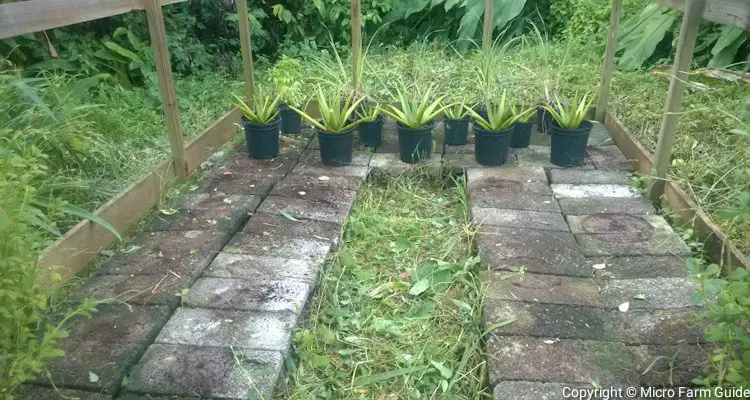
Next, I placed concrete blocks on the ground to keep the pots out of the mud.
Best of all, the frame could also support trellises for cucumbers, tomatoes, and peppers.
However, the frame did not have enough rafters, so I used some sticks to create additional supports for the string trellises.
Pots And Potting Mix
To kick things off, I bought some black nursery pots and potting mix from a garden center.
These pots were the cheapest and most durable options in my area.
The 8 and 10-inch pots cost about $4 each and barely met the minimum requirements for most plants.
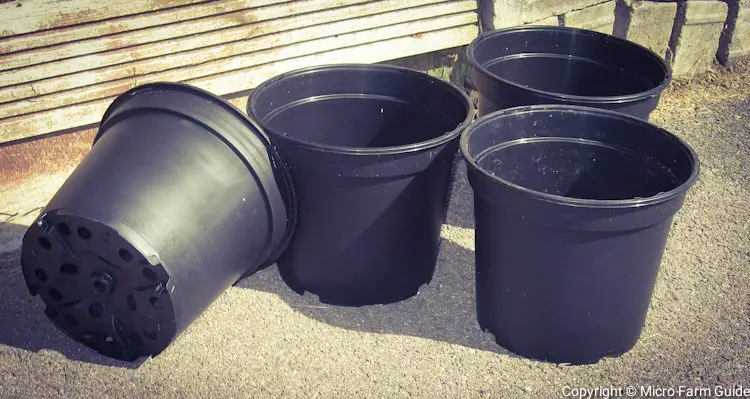
I wanted to get larger pots, but a 12-inch pot costs about $12 and requires almost twice the amount of potting mix.
Regarding potting mix, a bag typically costs between $70 to $90 per cu. ft.,
Now, that’s about $100 per pot!
So, I guess you can understand why I made my own potting mix after the initial setup.
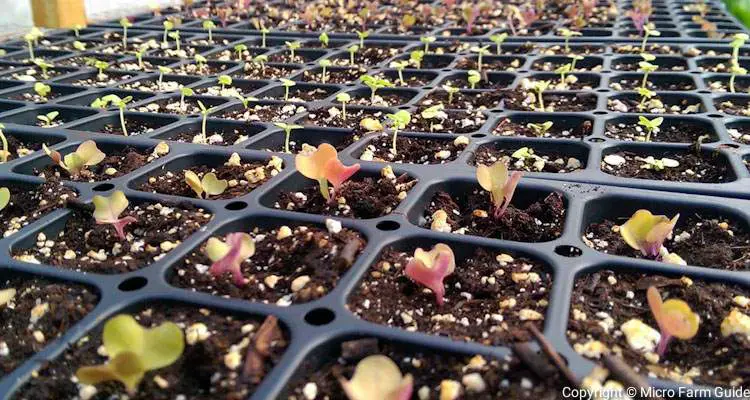
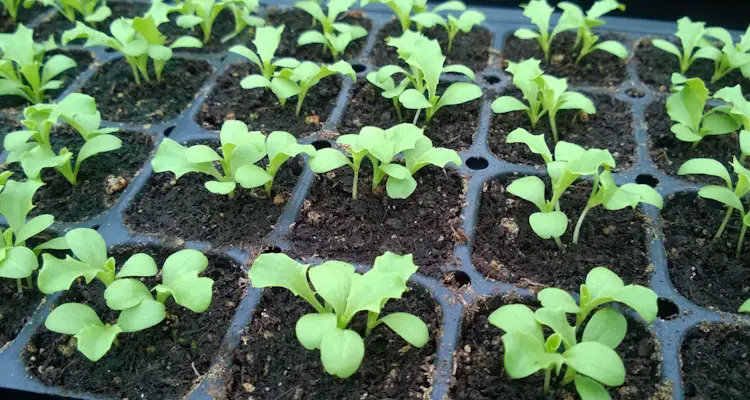
Seeds And Seedlings
I bought a couple of seedlings for the first planting to get a head start.
This was a real time-saver, but as a result, I did not have much information on the sowing dates and variety.
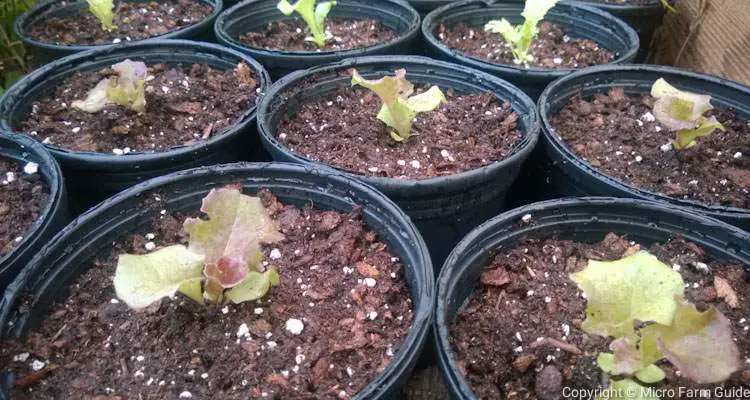
Thankfully, the plants did well nonetheless.
Moving forward, I prefer to sow my own seed whenever possible. This will allow me to keep better planting and growing records.
Caring For The Seedlings
As mentioned, the seedlings grew beautifully despite daily temperatures averaging about 90 °F.
I only encountered a slight issue with the tomato pots drying out as they grew.
I figure I’ll have to try the 14-inch pots in the future or water them more often on hot days.
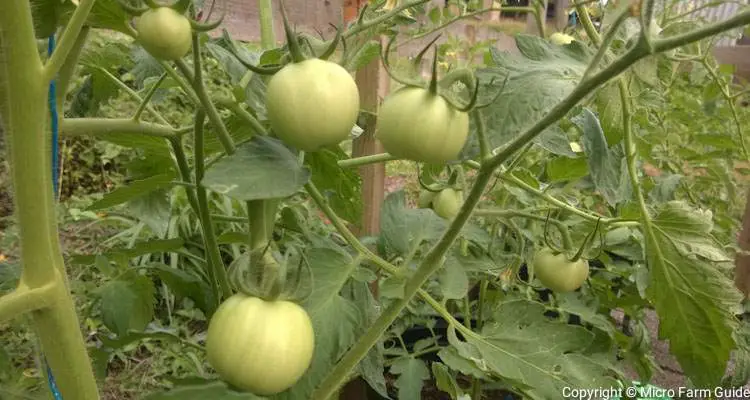
I added compost, cow manure, and ground egg shells to the containers once per month.
This took care of all the nutrient needs of the plants, but most importantly, kept the earthworms in the pots happy.
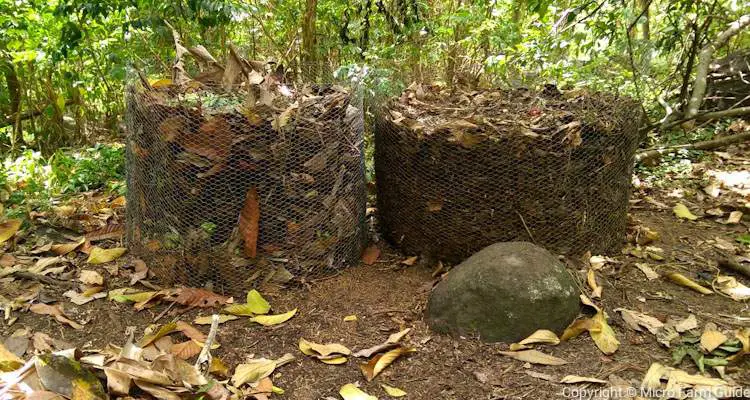
Rejuvenating Old Potting Mix
While the plants were growing, I started to collect fresh cow manure and worked on composting materials in the chicken coop.
I stored the completed potting mix in a drum to cure until needed.
After the harvest, I placed the old potting mix in a drum with some fresh compost until I was ready to use it again.
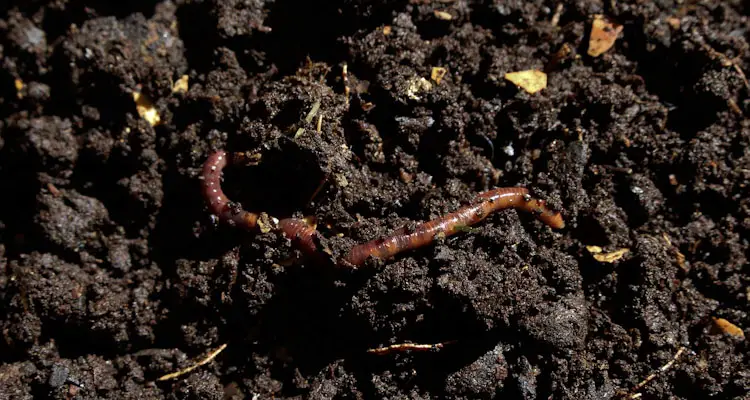
This also gave the earthworm a chance to multiply rapidly…
As you can see, I’m more concerned about feeding the creatures in the potting soil since these will provide the plants with the necessary nutrients.
Project Summary
All in all, the project was a success!
I’m still harvesting tomatoes, peppers, and my second batch of lettuce and cucumbers.
I’ve resumed sowing new seeds and creating as much compost as possible.
As a result, I no longer have to buy seedlings or potting mix, which allows me to focus on expanding the garden.
I will cover the expansion project in a later update or accompanying tutorial.
Now, I still have to buy additional pots to expand the garden.
Yet, considering the cost of food on the island, these pots are worth every penny.
Tutorials & Resources
Thanks for taking a couple minutes to read about my kitchen garden project.
This is part of a backyard gardening series, and the future micro farming system build.
The tutorials, guides, and other resources for this project will be available soon.
So, if you’d like to get email updates on this and future projects and training, click the button below to join our newsletter.
Again, thanks for reading, and see you in the next project. Happy farming!