

Drying herbs at home is an incredible way to turn your garden-fresh herbs into flavor-packed treasures you can enjoy for years.
However, not all plants are well-suited for drying. As a result, choosing the right herbs is vital to your success.
For instance, some herbs lose most of their flavor as they dry, while others are difficult to dry without costly equipment. But don’t worry, we have you covered!
In this article, I’ll show you how to dry herbs at home using a very simple technique. I’ll guide you from choosing the right herbs to storing them properly.
I’ve also included some tips for troubleshooting common issues you might encounter from time to time. But before we jump into the drying process, let’s take a look at:
Selecting the Right Herbs for Drying
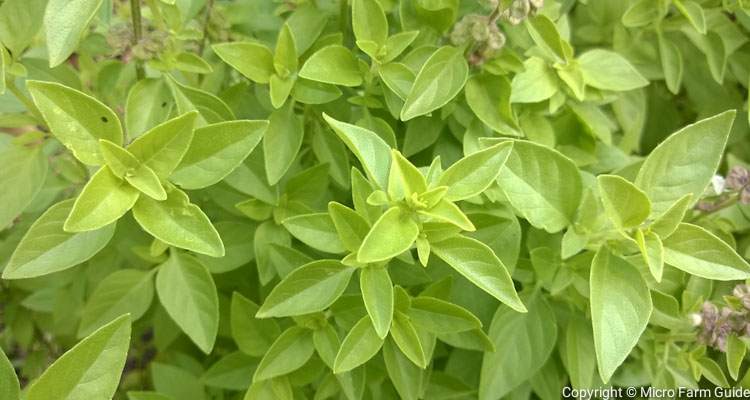
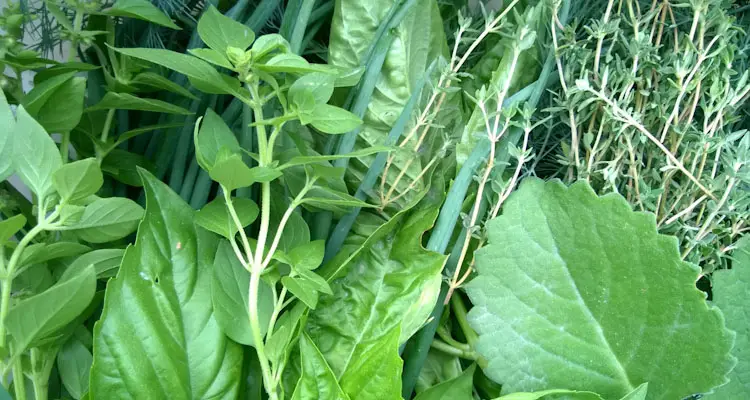
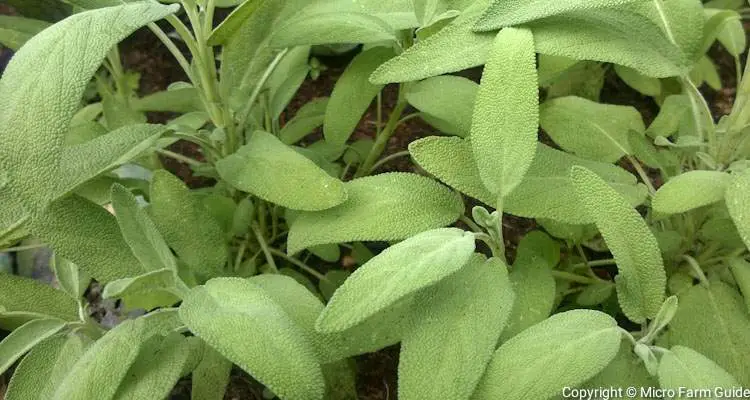
First, choose herbs with robust flavors and low water content, such as Sage, Oregano, fine-leaf Thyme, Mint, Bay Leaf, Jamaican Oregano, Dill, and Rosemary.
You can also use basil, lemongrass, Cilantro, and Parsley. These are among the easiest herbs to dry, but tend to lose some flavor during the process.
Ensure that the leaves and the stems look clean and vibrant, free from pests, diseases, and signs of discoloration.
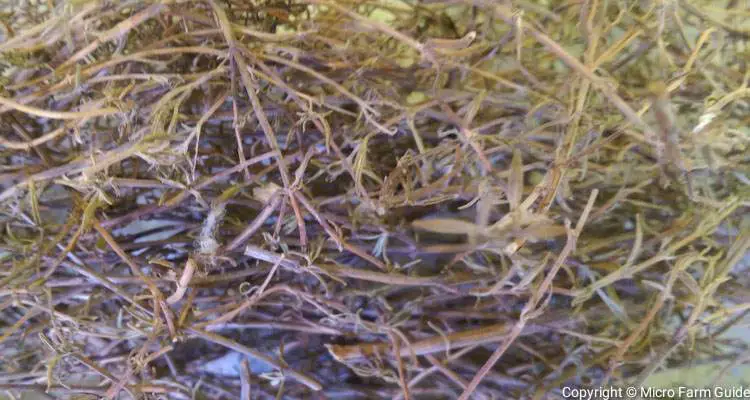
However, please avoid succulent herbs with high water content, such as Spanish Thyme and Panadol Plant, since these are more challenging to dry without specialized equipment.
But don’t dismiss them altogether since most of the fun comes from experimenting. With that said, let’s take a look at the drying process.
How To Dry Herbs (Air Dry Method)
For simplicity, we’ll focus on the Air Drying Method. It’s easy and only requires some simple “equipment.” Here is a list of the items you will need:
| Items | Purpose |
| Scissors | To harvest the herbs and cut the string. |
| String Or Twine | To tie your herbs into bundles for drying. |
| Paper Bags | To protect your herbs as they dry and collect loose leaves and seeds. |
| Clean Flat Tray | To lay out dried herbs while preparing for storage. |
Okay, so this is a pretty short list. And chances are you already have most of the items at home. So, once you confirm this, it’s time to move on to the actual drying process.
Step 1: Harvest Or Purchase Fresh Herbs
To begin, use scissors or pruning shears to cut the stems of your desired herbs. It’s best to harvest herbs early in the morning before they’re exposed to intense sunlight.
You can also purchase bundles of herbs directly from a farmer for a reasonable price. Double-check to make sure that the leaves and stems are not damaged.
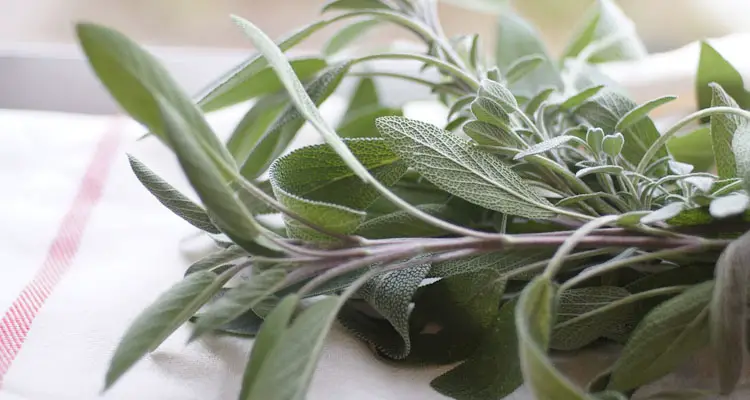
Step 2. Tie Herbs Into Small Bundles
Next, gather herbs into small bundles, about 4 to 6 stems each, and tie them together with the string.
Ensure that the bundle is not tightly packed. In fact, aim for it to be as spread out as possible to allow proper air circulation.
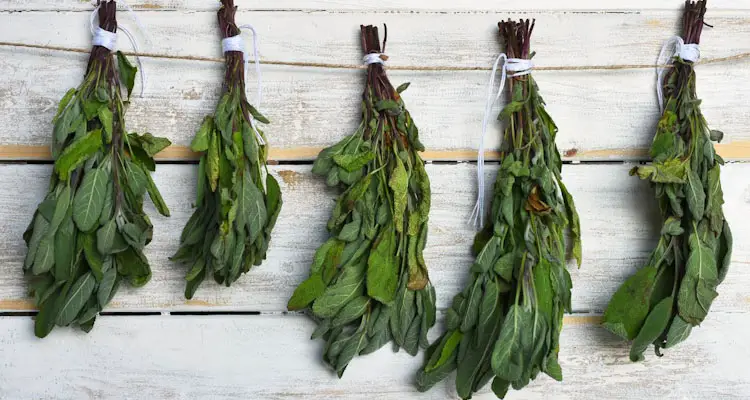
Step 3. Hang The Bundles To Dry
Afterward, find a well-ventilated spot to hang your herbs. It would be best if it is slightly windy to ensure no moisture will remain on the leaves.
However, avoid hanging the bundles in direct sunlight since this can affect the flavor. Cover it with a paper bag for seeds, delicate leaves, or pests.
Also, avoid humid rooms since this can slow the process and encourage mold and other issues, which brings us to the next step.
Step 4. Check Herbs For Mold
Monitor the drying progress. Mainly, keep an eye out for mold. Remove affected leaves or bundles if you notice any mold or other residue on the surfaces.
Step 5. Wait For The Herbs To Dry
Herbs typically take about 1-2 weeks to dry completely, depending on the type of herbs you use and the drying conditions.
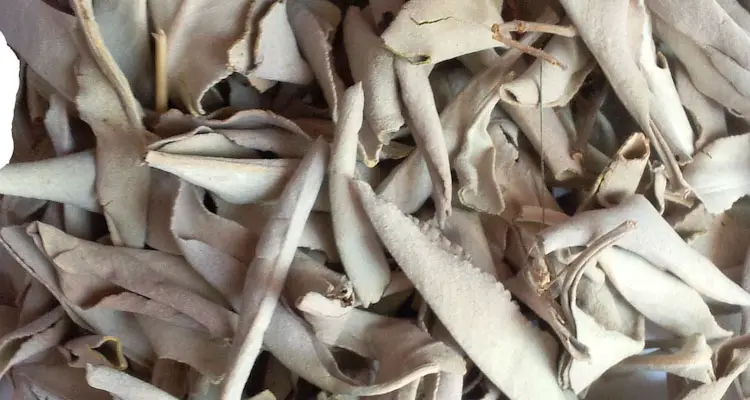
You’ll know when they’re ready when the leaves become slightly brittle and may even crumble easily. Be patient, but don’t overdo it since over-drying can cause issues. Let’s look at some common ones you might encounter.
Troubleshooting Common Issues
Okay, sometimes things will go differently than expected. But don’t worry. It happens to the best of us. With this in mind, you’ll need to monitor for the following:
1. Mold
Mold can develop on the herb under humid conditions. It usually appears as white spots or furry puffs.
If you see mold, you need to remove the affected material immediately and increase the ventilation in the area.
2. Over-Drying
We want our herbs to be dry, but if they become dry to the extent that they lose flavor, we have overdone it.
So, you’ll need to monitor your drying time and store them as soon as they are ready.
Of course, there are some herbs, such as Parsley and Basil, that will naturally lose some flavor as long as you dry them, so we need to keep these in mind when considering:
3. Loss of Flavor
Proper storage helps to keep herbs bursting with flavor. So ensure you provide the best possible storage conditions, which we shall look at now.
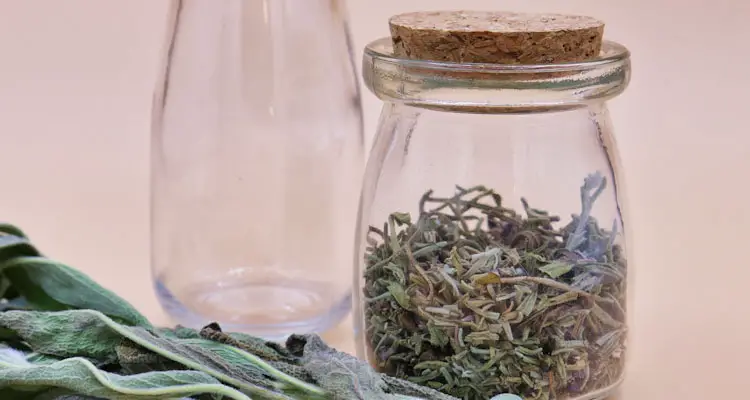
How To Store Dried Herbs Properly
After drying your herbs, you’ll need to store them in an airtight glass container to preserve their flavor.
While it is possible to use resealable plastic bags or containers, beware that they might allow moisture to enter.
However, if this is all you have, make the best of it for now. And try to get some airtight glass jars for future batches.
Either way, remember to label your jars with the type of herb and the date they finished drying.
This will make it easier to keep track of the herbs, both for freshness and recipes.
Other Herb Drying Methods (Brief Overview)
Air drying is excellent but can be challenging, especially during wet weather. As you become more comfortable, you may try other methods, such as oven drying or dehydrators.
Oven Drying involves using your oven at low temperatures to dry herbs quickly. It’s a good option when you need to dry your herbs rapidly, but you must be careful or risk burning them.
Dehydrators, on the other hand, are specialized machines that allow you to have control over temperature and airflow. As a result, you can dry your herbs efficiently, but they come at a price.
Remember, you can always experiment with these methods once you get the hang of air drying.
Final Thoughts
I’m curious — did you learn enough to dry your first batch of herbs?
In this guide, we covered the importance of choosing the right herbs, the step-by-step drying process, and even how to identify and solve some common issues.
Now, it’s time to get some herbs and try the process. Don’t be afraid to experiment.
And remember to visit our Gardening Page for more tips, tricks, and tutorials to help you on this exciting journey. Have fun!
Related Questions
1. How do you dry fresh herbs at home?
You can use the air-drying method to dry fresh herbs at home. This process includes bundling fresh herbs and hanging them in a cool, dry, well-ventilated spot for 1-2 weeks or until they are dry.
2. What are the methods of drying herbs?
Air drying, oven drying, or dehydrator are all effective methods of drying herbs. However, air drying is usually the go-to method for beginners since it is easy and cost-effective.
3. What herbs should not be dried?
Herbs with high water content, like Spanish Thyme and Panadol Plant, should not be dried unless you can access specialized equipment such as a dehydrator.
4. How long does it take to air-dry fresh herbs?
Air drying fresh herbs typically takes 1 to 2 weeks. Still, the exact time will differ depending on the actual herb, temperature, and airflow in the drying area.
References
National Center For Home Food Preservation. Drying – Herbs. nchfp.uga.edu. Accessed October 2023
PennState Extension. Let’s Preserve: Drying Herbs, extension.psu.edu. Accessed October 2023
OSU Extension Service. How To Dry Herbs. extension.oregonstate.edu. Accessed October 2023
OSU Extension Service. Food Safety & Preservation: Drying Herbs (PDF) Accessed October 2023