Growing tomatoes in pots is a fun and exciting way to produce tasty tomatoes in limited spaces. We can grow them on our balconies, rooftops, or even driveways. The possibilities are almost limitless!
But, the process is different from growing in the ground. As a result, there are some things we need to consider and adjust to ensure a bountiful harvest.
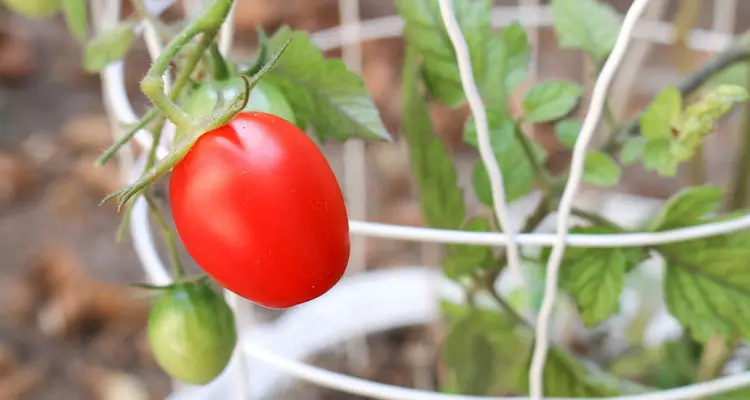
This article will teach you a simple process for growing tomatoes in containers. We also included some general tips to ensure your success. Let’s get started!
Step 1. Select The Best Tomatoes For You
List the varieties of tomatoes you would like to grow. Consider your available space and what you would like to do with them. Here are some examples to consider.
| Variety | Height | Days | Purpose |
| Tumbler | 2 Feet | 55 | Snack |
| Patio | 2 Feet | 70 | Snack |
| Tiny Tim | 2 Feet | 60 | Snack |
| Glacier Bush | 3 Feet | 55 | Snack |
| Sweet And Neat | 1 Foot | 60 | Snack |
| Roma | 3 Feet | 75 | Paste, Canning |
| Pik Red | 2 Feet | 71 | Paste, Canning |
| Bush Steak | 3 Feet | 62 | Slicing |
| Celebrity | 4 Feet * | 65 | Slicing |
| Bush Goliath | 3 Feet | 68 | Slicing |
| Better Bush | 2 Feet | 68 | Slicing |
| Marglobe Better Bush | 3 Feet | 72 | Slicing |
As a beginner, you should choose determinate or dwarf varieties. These grow less than 4 feet tall and need less maintenance and support.
Note: Some dwarf varieties are small enough to grow on a window sill. While others can hang, producing a cascade of delicious bite-sized treats.
Step 2. Choose A Sunny, Well-Ventilated Spot
Identify an area that receives at least 6 hours of sunlight per day. It should be well-ventilated and have easy access to water. Ensure that it is large enough to hold a couple pots.
Placing the pots on solid surfaces such as concrete, wood, or tile would be best. Yet, you can also use overhead beams for dwarf varieties such as Tiny Tim, which grow well in hanging baskets.
Step 3. Use Suitable Containers For The Chosen Variety
Choose pots at least the recommended size for the tomato you intend to grow. Here are some examples for quick reference.
| Type | Plant Height | Pot Size (Min.) | Container Size (Min.) |
| Dwarf | 6” to 15” | 7” | 1 Gallon |
| Dwarf | 12” to 18” | 8.5” | 2 Gallons |
| Determinate | 18” to 36” | 12” | 3 Gallons |
| Determinate | 36” to 48” | 14” | 5 Gallons |
| Semi-Determinate | 48” to 60” | 15” | 7 Gallons |
| Indeterminate | 60” to 72” | 18” | 10 Gallons |
| Indeterminate | 84” to 108” | 20” | 20 Gallons |
We use nursery pots, fabric planters, cardboard boxes, and 5-gallon buckets on the farm. Feel free to experiment but ensure your containers have enough drainage holes.
Note: Larger containers keep more moisture and nutrients. As a result, you can use larger containers as a safety precaution, especial in warm climate.
Step 4. Fill Pots With Good Quality Potting Soil Or Mix
Fill the container with a moist, nutrient-rich potting mix about 2 inches below the rim. You will need about 2 cubic feet of potting mix to fill three 5-gallon pots.
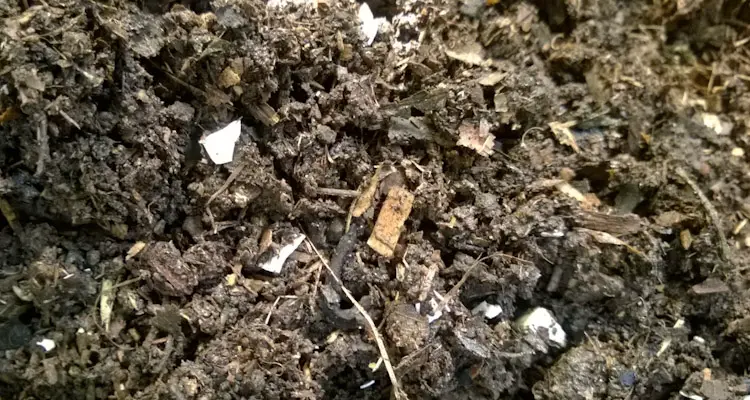
This is a lot of potting soil, but don’t worry; we will teach you how to rejuvenate and reuse it later. Still, please avoid using garden soil. It compacts and can introduce unwanted pests and diseases.
Step 5. Transplant Seedlings Into Pot
Dig a deep hole and place one tomato seedling into it. Remove the lower leaves. Then, bury the seedling so that only the upper set of leaves remains above the soil line.
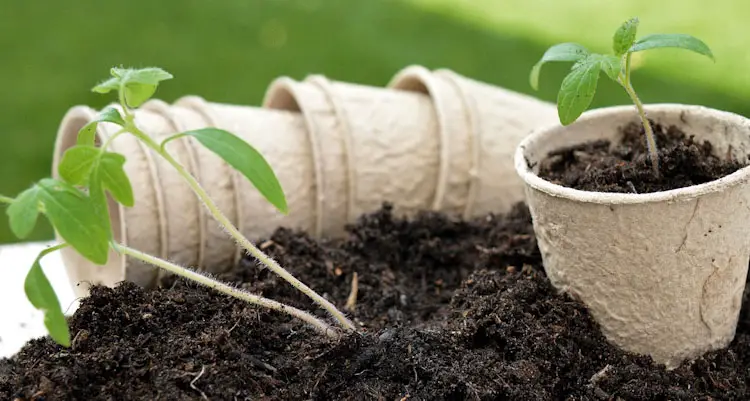
Tomato plants enjoy having their stems covered. This stimulates root development along the buried stem. These roots help to stabilize the plant and access more nutrients.
Step 6. Add Supports (For Taller Varieties)
Insert a long stake or tomato cage next to the stem of the tomato. It should be long enough to touch from the bottom of the pot to a foot over the expected height of the plant. Tie the stem onto it using a piece of twine.
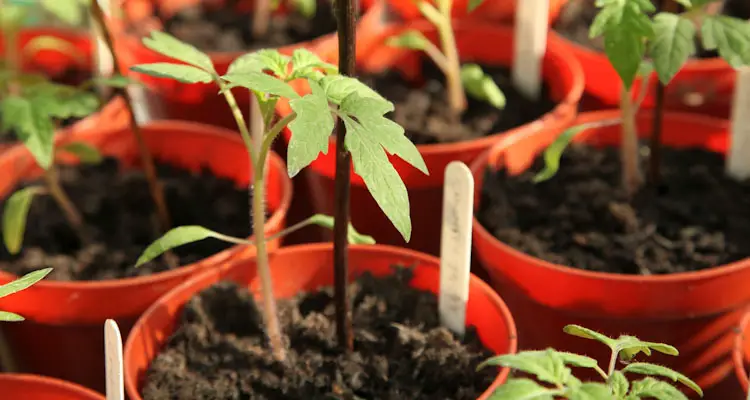
You will not need support for most dwarf varieties. Still, we use them anyway due to strong winds. These patio varieties usually grow to less than 2 feet tall. Some even enjoy hanging off the sides of baskets.
Step 7. Water Plants Often (When Necessary)
Water the potting mix until you see the excess flowing from the drainage holes. Afterward, check plants daily to ensure that the soil keeps moist. You will need to increase how often you water your plants as they grow and on warmer days.
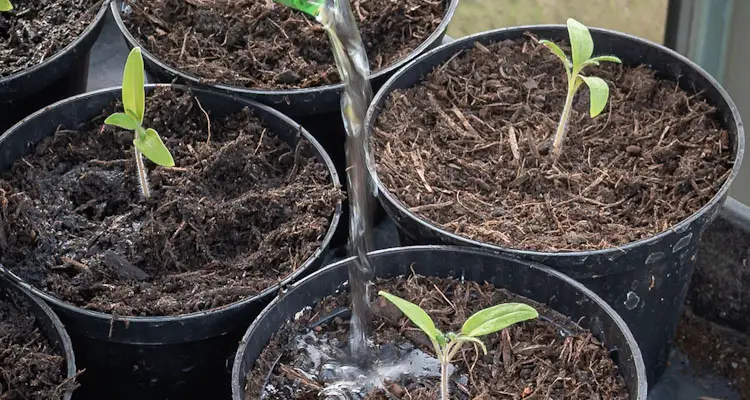
Smaller pots dry out and need frequent watering. In some instances, you will need to do so twice per day. In contrast, “oversized pots” can hold enough moisture to last an entire week.
Step 8. Feed Plants With Balanced Fertilizer
Bury a handful of slow-release fertilizer in a trench around the tomato seedling. Then, apply a balanced liquid fertilizer every two weeks over the growing season.
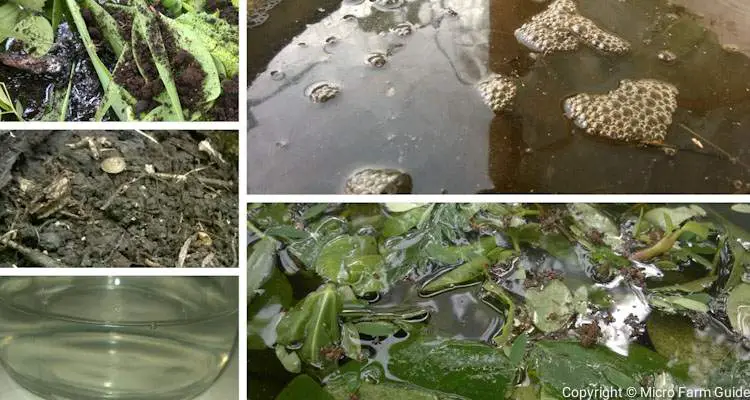
These should have the necessary nutrients for the stage of the plant’s development. For example, young plants need nitrogen-rich fertilizer. While mature plants need one that is high in potassium and phosphorus
Step 9. Cover Potting Soil With Mulch
Fill the remaining 2 inches of the container with a layer of mulch. You can use chipped dried leaves, bark, or compost. This will help keep soil moisture and keep the roots cooler.
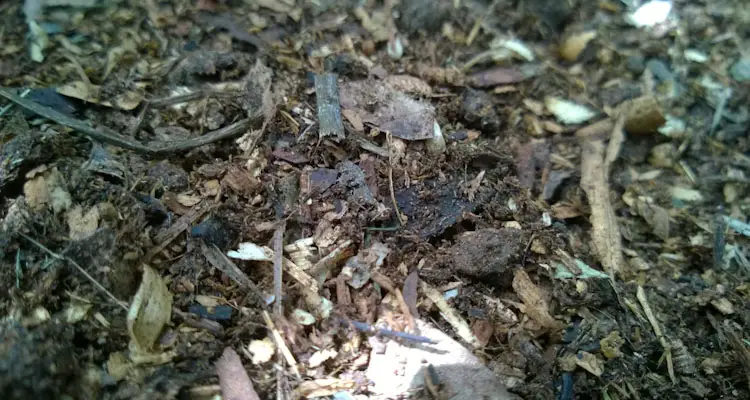
Mulch also helps to prevent weeds and protect soil from compacting. It keeps low-hanging fruit away from the ground, resulting in cleaner, healthier fruit.
Step 10. Caring For Tomato Plants
Remove dead leaves, diseased stems, and shoots that restrict airflow within the plant. Also, remove lower leaves if they come into contact with the soil.
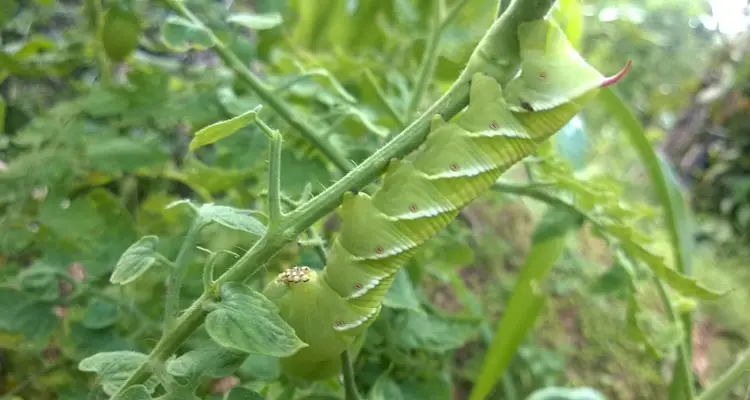
Keep soil moist and apply fertilizer often. Check for pests and any signs of stress, such as yellowing leaves. Pay attention to your plants and start reaping your rewards in about 2 to 3 months.
Importance Of Protecting Tomatoes In Hot Climates
Tomatoes are warm-climate plants that can tolerate brief drought-like conditions. But, as temperatures approach the 90s, they will show some signs of stress.
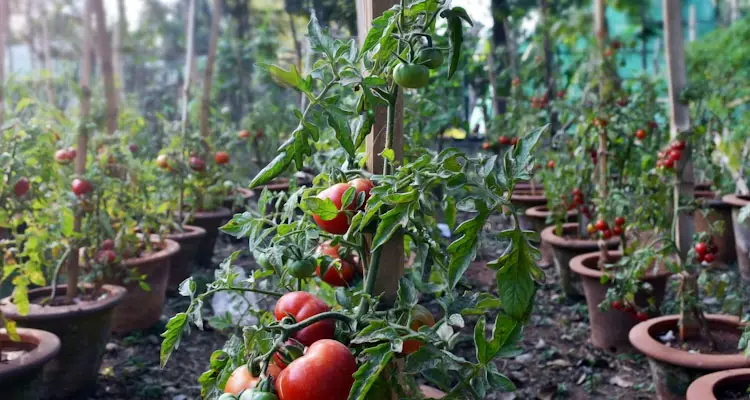
Most varieties of tomatoes will drop flowers in prolonged hot conditions. It would help if you considered growing heat-tolerant varieties such as Juliet. Cover plants with a 35% shade cloth during hot spells.
You should avoid using black nursery pots in extreme temperatures. Instead, consider using lighter-colored containers, fabric planters, or air-pruning pots.
Related Questions
1. How Long Does It Take To Grow Tomatoes In A Container?
Tomatoes take between 2 to 3 months to mature after transplanting. This depends on the variety but can also result from the growing conditions.
2. Do Tomatoes Grow Better In Pots Or In The Ground?
Tomatoes prefer to grow in loose, well-drained, nutrient-rich soil. As a result, most varieties will grow better in the ground, in ideal conditions. Otherwise, they will perform better in containers of suitable size.
3. Do Tomatoes Grow In Pots Suffer From Blossom End Rot?
Tomatoes grown in pots are more likely to get blossom end rot if the soil dries often. Yet, regular application of fertilizers and frequent watering can control this.
4. Should I Add Stones Inside Pots To Help With Drainage?
No, It is not necessary to add stones inside pots. In fact, these stones will keep water, causing the soil to saturate at a much higher point than usual.
5. Can You Grow More Than One Tomato In One Pot?
Tomatoes are heavy feeders and tend to compete for resources if grown too close. As a result, You should plant one tomato plant per pot.
References
1. Nebraska Extension. The Hard Truth About Rocks At The Bottom Of Planting Containers. extension.unl.edu. Accessed December 2022
2. Marinette County Extension. Growing A Tomato Plant In A Container. [PDF]. Accessed December 2022
