
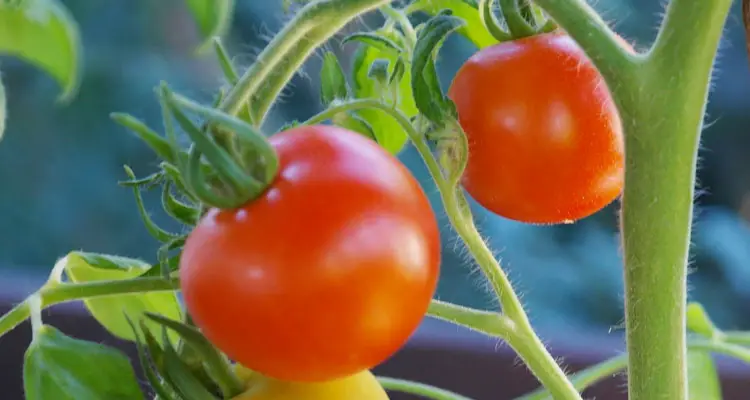
Tomatoes are easy to grow from seeds but require some planning to ensure a bountiful harvest. Most gardeners are happy to assist, providing countless tips for producing tasty tomatoes.
However, this information can be overwhelming if you are new to gardening. So, instead of adding to this confusion, we’ve decided to cover the basics in this easy-to-follow guide.
In this post, you will learn the step-by-step process we use to grow tomatoes at our farms. We have included pictures and extra notes to help you along the way. Let’s get started!
Step 1: Select Your Preferred Tomato Variety
To begin, list the varieties of tomatoes you would like to eat. Include information such as name, type, and the estimated time to harvest. Here are some popular varieties you can consider.
| Tomato Variety | Type | Days | Seed |
| Sun Gold | Indeterminate | 60 | Hybrid |
| San Marsano | Indeterminate | 85 | Heirloom |
| Green Zebra | Determinate | 78 | Heirloom |
| Juliet | Indeterminate | 60 | Hybrid |
| Jersey (Rutgers) | Determinate | 75 | Hybrid |
| Celebrity | Determinate | 70 | Hybrid |
| Yellow Pear | Indeterminate | 71 | Heirloom |
| Mortgage Lifter | Indeterminate | 78 | Heirloom |
| Big Beef | Indeterminate | 73 | Hybrid |
| Early Girl | Indeterminate | 51 | Hybrid |
Select the varieties from your list that is best suited to your climate and available space. For example, you may choose a variety such as Early Girl or Sun Gold if you have a short growing season.
You should also consider using heirloom varieties, if you want to save seeds. This will ensure that your future plants are “true to seed.” Please read our article, How To Save Tomato Seeds, for instructions.
Step 2: Sow Seeds Indoors
Fill a container or seed tray with moist potting mix. Poke two holes in each cell, about ¼ inch deep, and place one seed per hole. Cover with some other growing mixture and press. Sprinkle it with some water and put it in a warm dark area.
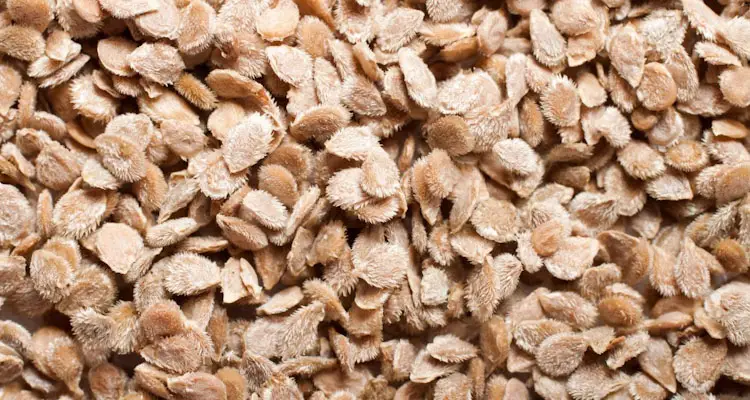
You can expect Tomatoes to germinate in about 8 days. In cooler climates, you should start seeds indoors about 6 weeks before planting them into the soil. Remember, tomatoes thrive in temperatures between 65°F and 85°F.
You should consider using the Tissue Germination Technique if seeds are struggling to sprout. If temperature is the issue, you can place the container on a warming pad.
Step 3: Move Sprouts To A Well-Lit Location
Move the seed-start container to a warm, well-lit area at first sight of seedlings. You can place them on a window sill, in a warm greenhouse, or under a bright grow light.
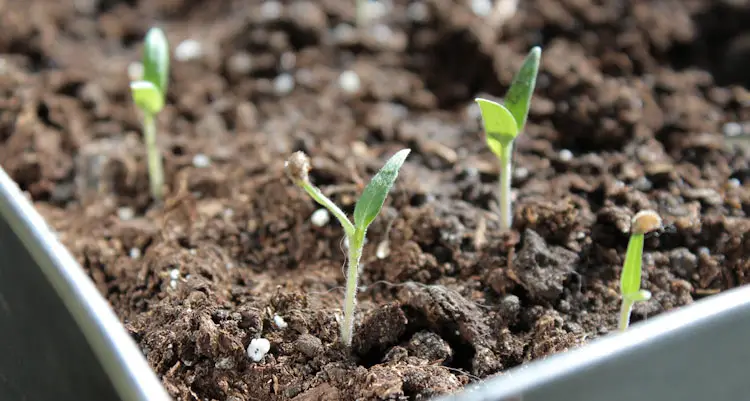
Keep the potting mix moist, watering only when necessary. Avoid soaking the leaves, if possible. Ensure that the area is well-ventilated to remove excess water from the leaves.
You can use a self-watering seedling tray during warm periods. This will ensure that your seedlings receive enough water, especially during warmer periods. But be careful on cooler days.
Step 4: Remove Weaker Seedlings
Thin your tomato seedlings when they are about 2 inches tall. Use scissors or micro-tip pruning shears to snip the weaker seedlings at the base. Leave 1 seedling per cell.
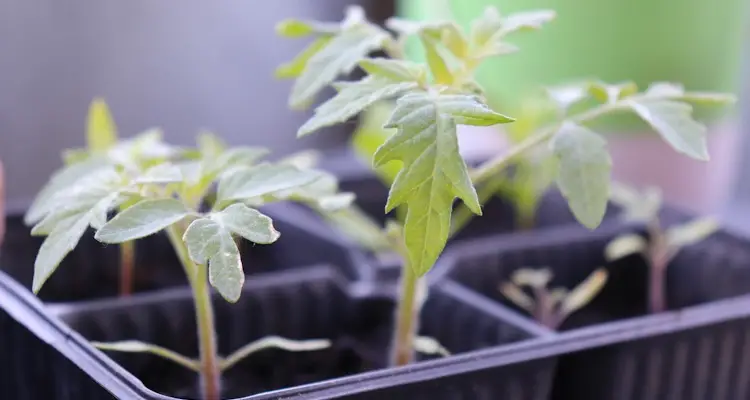
Or, you can “prick out” the seedlings when they are about a week old. Then replant them into individual cells. This is an efficient technique but is time-consuming.
We used to “prick out” seedlings due in part to the price of tomato seeds. But, we later shifted to “thin by snip” since it is much easier to learn and apply. This has freed up time to do other things on the farm.
Step 5: Apply Liquid Fertilizer (Unless)
Apply a liquid fertilizer after seedlings produce their first set of “true leaves.” Repeat this every 2 weeks after that. Use a balanced formulation such as Jadam Liquid Fertilizer or another fast-acting fertilizer.
This is unnecessary when using nutrient-rich growing media with added fertilizer. Please read the package. If it mentions N.P.K., then your seedlings are already covered.
With that said, certain organic fertilizers need microbes to break them down. You can use them in the soil, but they might prove ineffective in potting mixes.
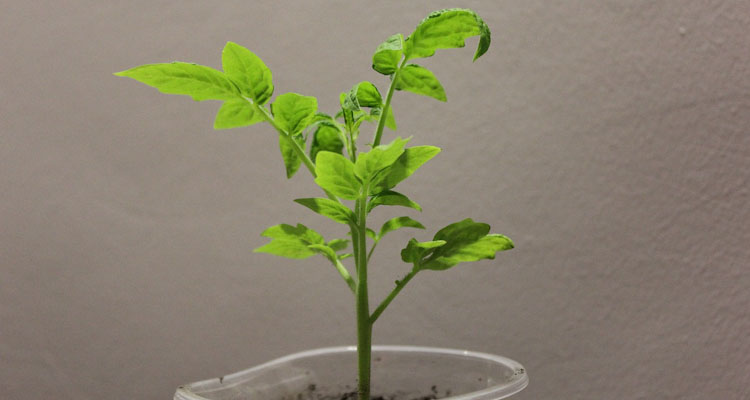
Step 6: Inspect And Repot Seedlings
Remove one seedling from the seedling tray to inspect the root development. The hairs should be white and have started to spiral at the bottom. This means it is time to “pot up” to a container of equal height to the plant.
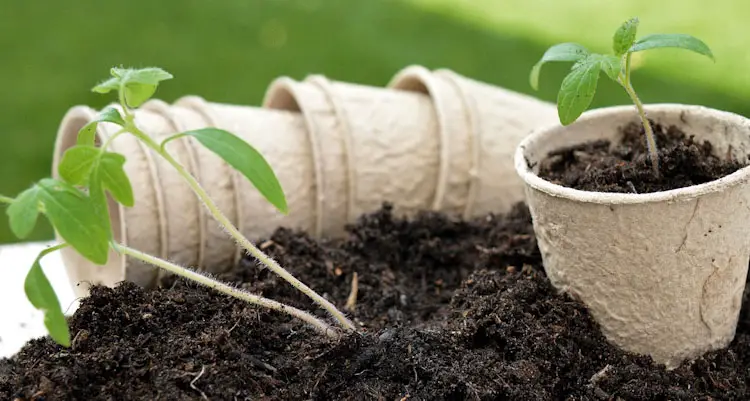
Fill the container with about an inch of potting mix. Remove the lower set of leaves and place it into the container. Fill the container with a potting mix, covering the stem.
Unlike other plants, tomato seedlings enjoy it when you cover their stems. This encourages root growth, resulting in a healthier plant. Still, you should avoid covering the leaves.
Step 7: Harden Off Seedlings
Move your tomato seedlings to a sunny location about 2 weeks before transplanting. Allow them to receive at least 1 hour of exposure on the first day. Increase the duration until the plants can remain outside for the entire day.
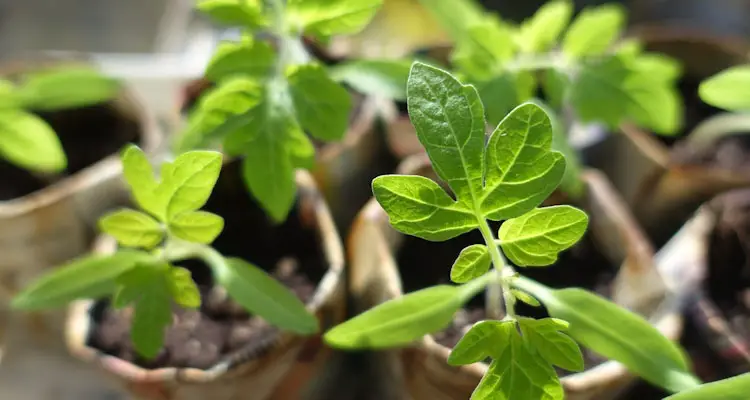
On hot, sunny days, you should cut this exposure short if the seedlings wilt or show signs of stress. Check the potting mix for signs of drying out and water if necessary. This also means you can keep them outside for the day if it is cool and overcast.
Hardening off prepares the seedlings for the harsh environment they will encounter outside. It also lessens the effect of transplant shock. This can occur as seedlings try to adapt, making leaves yellow.
Step 8: Transplant Seedlings
Transplant the seedlings into a deep enough hole to cover the root ball and up to the second set of leaves on the stem. Remove the lower set of leaves and cover them with soil.

If the seedlings are over a foot tall, it’s best to bury the lower stem in a small trench about 6 inches wide. You will first need to remove leaves from the stem. Then lay the plant on its side, turning the top part upward and out of the soil. Cover the lower stem with soil.
Once transplanted, press the soil around the plant, then water the seedling. Add the tomato support of your choice aside from the plant.
The Importance Of Choosing The Right Type Of Tomatoes
You should be able to harvest ripe tomatoes about 60 days after transplanting. Ensure you keep your plants watered and fertilized. Yet still, how you care for the plants will depend on your chosen type.
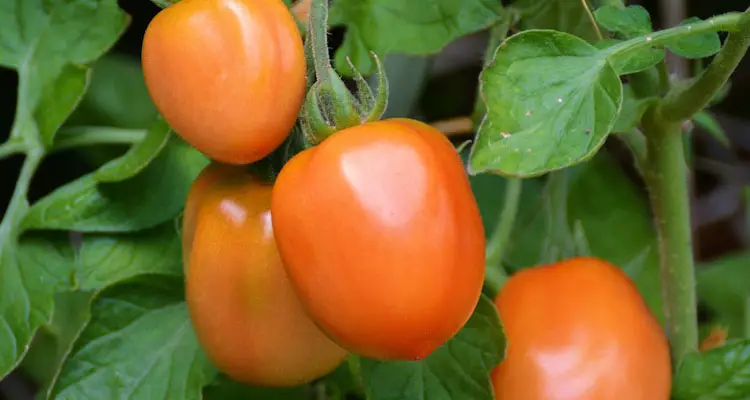
- For instance, Determinate or Bush tomatoes have a short lifespan. Their growth stops when they start to flower, and they die after fruiting.
- In contrast, Indeterminate or Vine tomatoes will continue to produce in favorable conditions.
As a result, you will have to adjust how you care for your plant based on its unique characteristics. For more tips, read our Indeterminate Tomato Growing Guide.
Related Questions
Do You Need To Soak Tomato Seeds Before Planting?
No, you do not need to soak tomato seeds before planting. This practice ensures dormant seed receives the initial water to stimulate growth. Still, this is unnecessary if the seed has enough contact with moist soil.
References
PennState Extension. Successful Tomatoes From Seed. extension.psu.edu. Accessed December 2022
University Of Minnesota Extension. Grow Tomatoes At Home. extension.umn.edu. Accessed December 2022
Gardener’s Supply. Step-By-Step: How To Grow Tomatoes From Seed. [Video] Youtube. Uploaded February 3, 2015