
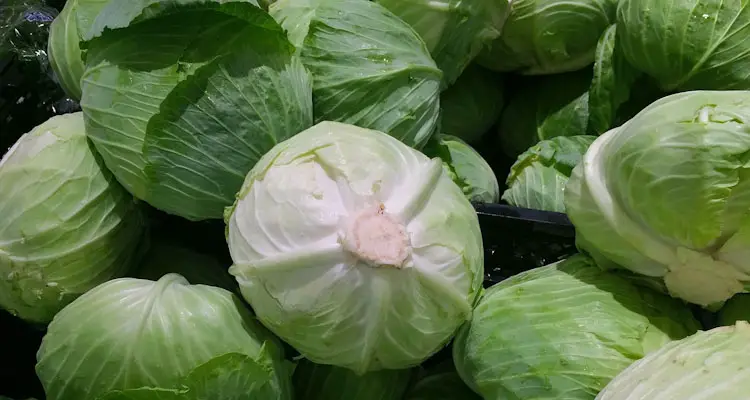
Cabbage is an excellent addition to any gardener’s patch. It is easy to grow, but it requires some knowledge and attention if you wish to enjoy a bountiful harvest.
You have to sow some seeds, provide fertile soil, and sufficient water – then Voila! Is this really all it takes?
Well, not exactly. You still have to provide protection from harsh weather conditions, pests, and diseases, and know when to harvest the head.
If you’re new to gardening or have never grown cabbages before, this can be somewhat daunting, but there’s nothing to worry about.
In this article, you’ll learn how to grow healthy cabbages at home, including tips on how to care for, protect, and harvest this versatile plant.
Contents:
- Step 1: Sow Cabbage Seeds In Trays
- Step 2: Care For Cabbage Seedlings
- Step 3: Transplant Cabbage Seedlings
- Step 4: Care For Cabbages Plants
- Step 5: Harvest Your Cabbage Heads
- …
Before You Get Started…
Here is a list of things you’ll need to grow cabbages in your garden, whether in-ground or container. Don’t worry if you don’t have access to the exact item. You can get creative.
| Items | Details |
| Cabbage Seeds Or Seedlings | Choose a variety you like to eat that suits your climate. |
| Spray Bottle | A small spray can, about 500ml. |
| Potting Mix | Preferably with lots of permits for drainage. |
| Seedling Tray | The larger the cell the better. |
| Sealed Seedling Tray | It should be large enough for the trays to fit and sealed to hold water. |
| Watering Can | Remember 1 gallon water weighs about 10 lbs plus the can itself. |
| Hose | Long enough to move around the planting area. |
| Shower Nozzle or Wand | To gently sprinkle the seedlings/plants |
| Compost & Mulching Material | Best to use organic material, but porous landscape fabric will do. |
| Garden Hand Tools | Hand Shovel, Garden Fork & Shovel, Pruning Shares or Scissors, etc. |
Step 1: Sow Cabbage Seeds In Trays
Ideally, it would be best to sow cabbage seeds indoors, using trays or pots that can be easily placed on a sunny windowsill or balcony.
Fill the seeding container with moist potting mix, then gently tap it on the table to allow the mixture to settle.
Remove excess growing material by sliding your hand over the mouth of the container.
Afterward, make a hole about ½ inch deep and place two cabbage seeds. Cover the seed with growing media and cover it firmly.
Gently water the newly-sown seeds and place them in a cool shaded area until they germinate.
Step 2: Care For Cabbage Seedlings
Cabbage seedlings will emerge in about 3 to 5 days. So, monitor them carefully and remove them at the first sign of germination.
Place newly-germinated seedlings in a sunny location or intense grow light. This will prevent them from “stretching out” in search of light.
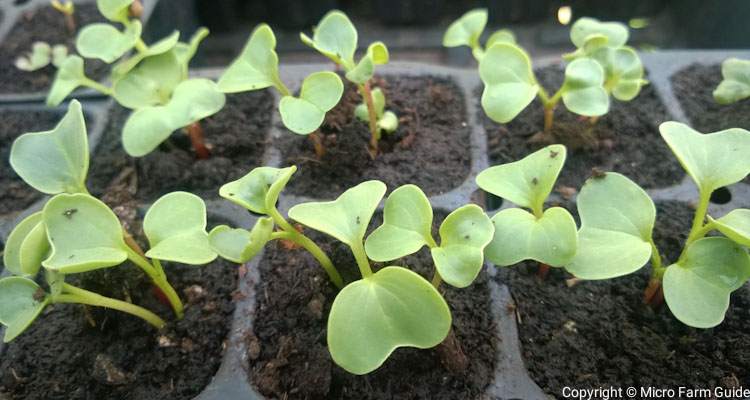
Water the seedlings only when necessary, from below if possible. Monitor the potting mix daily for signs of drying out, such as changes in color or weight.
Apply organic liquid fertilizer the day after you notice the first set of true leaves and once per week after that.
Then thin weaker seedlings in the second week using micro-tip pruning shears or small scissors.
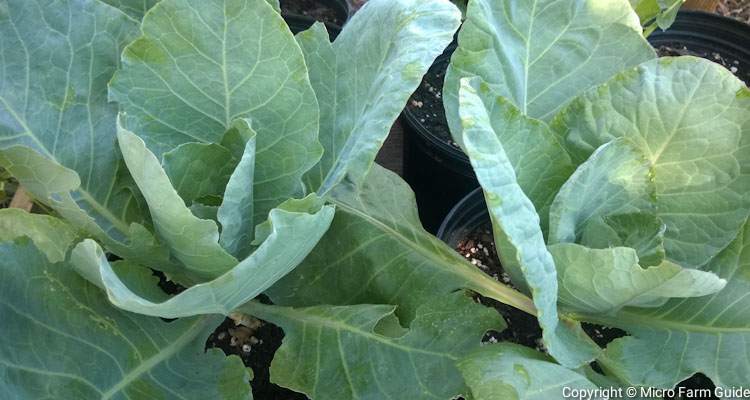
Step 3: Transplant Seedlings To Garden Or Container
You can keep the cabbages inside for up to 5 weeks, provided they have access to a good light source, and then it will be time to transplant!
Cabbage is a heavy feeder that can grow large, requiring at least 1 square per plant. They thrive in well-drained, slightly alkaline soil rich in organic material.
Remove the seedlings from the tray and transplant them into the ground, at least 12 inches apart from the center. You can also transplant them to a large container at least 12 inches wide and deep.
Once transplanted, water the seedling with a dilute liquid fertilizer or KNF starter formula. This will lessen transplant shock, giving your seedlings a head start in their new environment.
Add organic mulch on the soil’s surface or growing media if you grow cabbages during a dry spell. You can also place a row cover to protect seedlings from insects and the scorching sun.
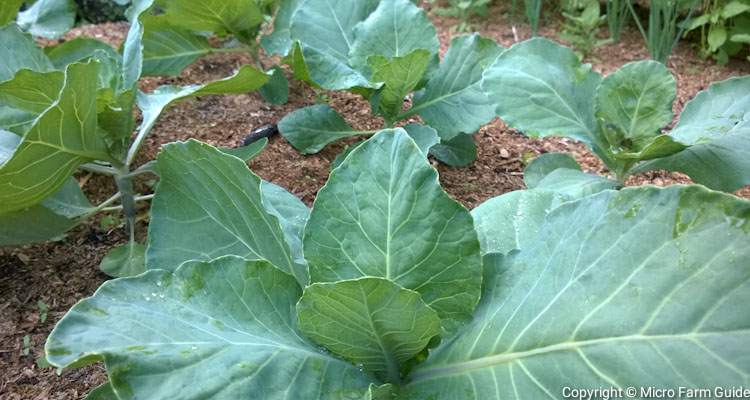
Step 4: Care For Cabbages (Mulch, Fertilize, Water…)
Once they’re in the ground, all that’s left for you to do now is to take care of them properly!
Thankfully, cabbages are one of the easiest vegetables to care for once their roots have developed.
All you need to do from this point onwards is to water them regularly, ensuring that the soil they are in never dries out.
However, it would be best to be careful not to overwater, as soggy soil can be equally detrimental to your cabbages.
In addition to this watering routine, you should feed your cabbages using a liquid feed. Yet, it would help if you avoided any liquid fertilizers that are too rich in Nitrogen, as they will harm the head formation of your cabbage.
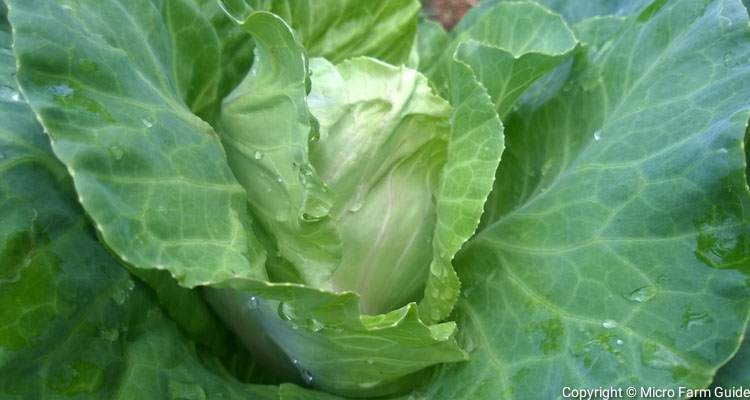
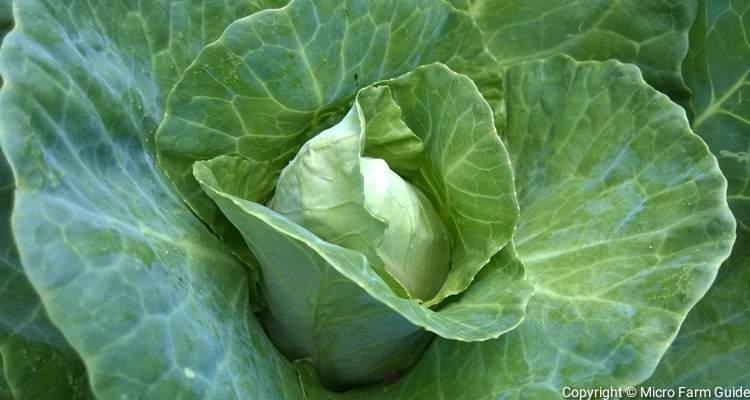
Step 5: Harvest Your Cabbage Heads
After about 20 weeks, it should now be time for you to harvest your cabbages!
Doing so is a straightforward process, so there’s no need to panic about getting it right if it’s your first time.
All you’ll need to do is use a sharp knife to cut the main body of the cabbage away from the stalk.
For the best results, you should leave around 4 inches of the stalk remaining, as it isn’t uncommon for another, yet smaller, crop to grow from it.
You can also encourage a second crop in cooler climates by scoring a small “X” in the stump!
Storing Cabbages
As with any vegetable, your cabbages are best eaten as fresh as possible, so ideally, you should eat them soon after picking them.
However, if you need to store your winter or red cabbages, then you can, and they’re best stored in a cold, dark place, such as a refrigerator.
Alternatively, you should consider canning or fermenting extra cabbages for later use and receive the additional health benefits of Lactic Acid Bacteria.
Troubleshooting Common Cabbage Pest And Diseases
You should watch out for a few things while growing your cabbages, as it could prove problematic to their health!
The main threats to your cabbages are pests such as aphids, grasshoppers, and occasional calcium deficiencies.
However, a fungal disease called clubroot tends to affect the roots of cabbages and the other members of the Brassica family.
As a result of this disease, the roots of your cabbage will become distorted and swollen, ultimately stunting your cabbage’s overall growth.
Club root is hard to remove from the soil, so you should try to prevent it instead by maintaining a healthy soil pH of 6.8 and above.
In case of an outbreak, growing your brassicas in containers would be best while you work on improving the soil conditions.
Final Thoughts
Growing cabbages is relatively easy, with delicious results that are well worth the effort.
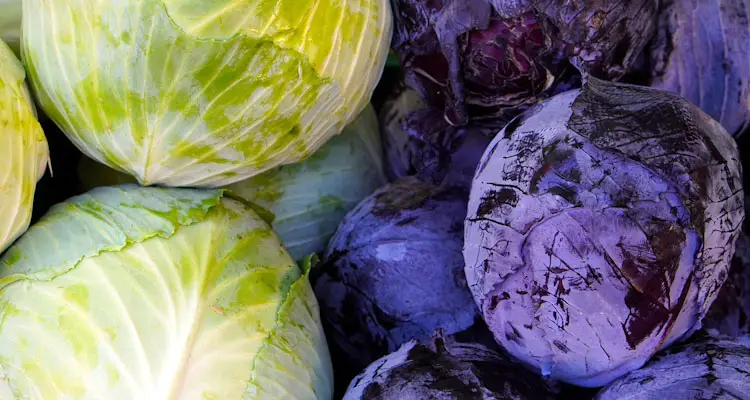
There is such a wide range of shapes, colors, or leaf textures to choose from, that you can grow some form of cabbage nearly any time of year and be intrigued at all they offer.
We created this simple guide to provide clear instructions on how to grow your own cabbages at home. So, why not try it out for yourself sometime soon?
References
Utah State University Extension. Cabbage In The Garden. extension.usu.edu. Accessed October 2022
South Dakota State University. Cabbabe. How To Grow It. extension.sdstate.edu. Accessed October 2022
Ohio State University Extension. Growing Cabbage In The Home Garden. ohioline.osu.edu. Accessed October 2022