
Growing thyme from seeds can be challenging, especially considering their size and germination time.
However, you can enjoy the benefits of fresh and dried thyme leaves at home if you learn our simple technique and exercise some patience.
In this article, I will outline the exact process we use on our farm to grow thyme for our seasoning bundles and some tips we have learned along the way.
How To Grow Thyme From Seeds
To begin, I must mention that Thyme seeds are fine! In fact, they are so tiny that you are likely to wash them away if you’re not careful while watering the starting media.
As a result, it would be best to sow thyme seeds in germination trays and transplant them to their desired location afterward. That said, let’s take a look at the first step.
1. Select Your Thyme Seeds
There are several varieties of thyme to choose from, including French, Lemon, and fine-leaf thyme. Most of these can grow directly in the ground but are well suited to grow in pots.
However, I suggest you start with common thyme or Thymus Vulgaris, which is easy to grow, has a great flavor, and is easy to find.
You can also try more exotic varieties, some of which are well-acclimated to cooler climates and whose seeds can be purchased online or at local garden centers.
2. Sow Seeds In Starter Container
Fill a germination container with some moist potting mix to sow thyme seeds. You can use well-rotted compost or a quality potting soil.
Tap the container gently on the table to remove any air pockets or crevices where the seeds might pass through.
Next, gently sprinkle the dust-like seeds onto the surface of the growing media and cover them with a thin layer of potting mix and water in carefully.
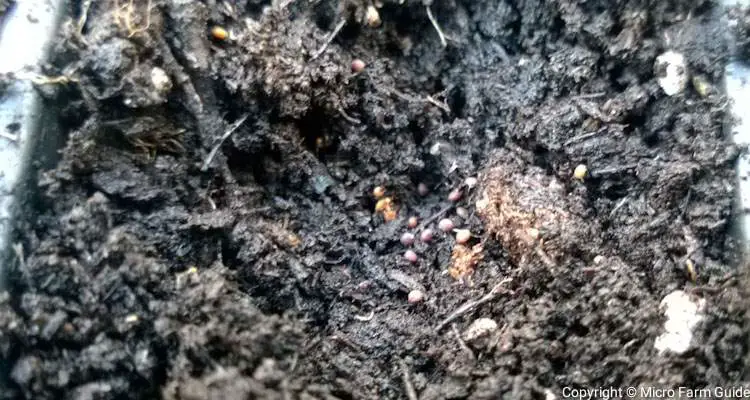
Cover the container with a piece of cardboard or a germination dome to keep the soil moist.
Place the container in a warm dark spot to allow the seeds to germinate.
Thyme seeds need a temperature of at least 65°F to germinate and can take up to 3 weeks before you see sprouts. So, you’ll have to be patient.
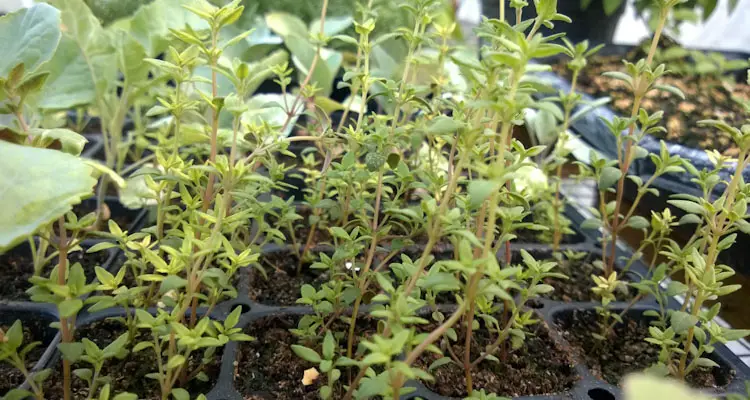
3. “Prick Out” Thyme Seedlings
Remove the seedlings from the dark area at the first sign of germination and place them in a warm, well-lit spot.
Water the container when necessary to ensure that the soil remains moist.
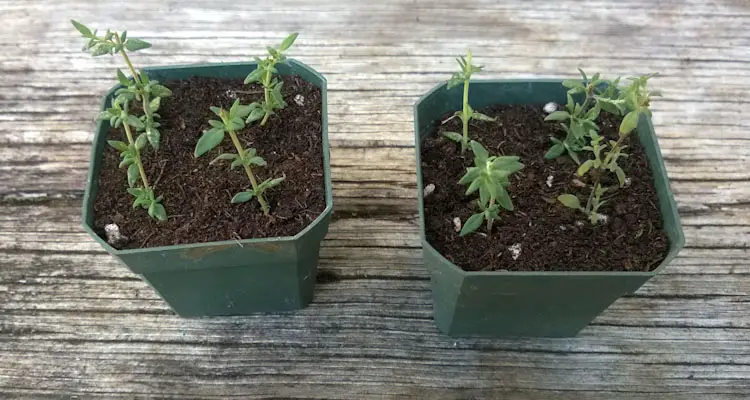
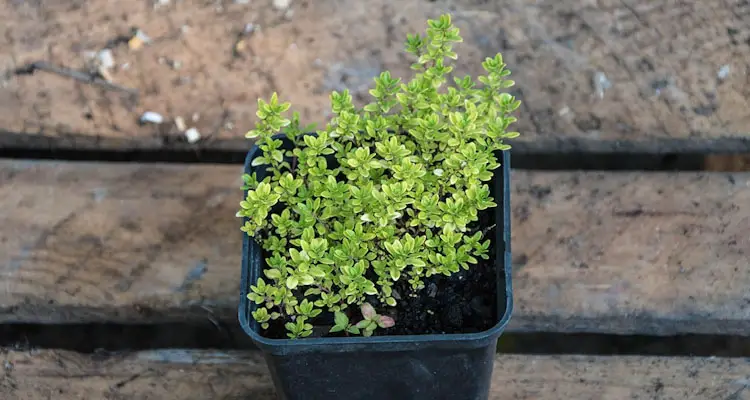
You will need to “Prick out” the Thyme seedlings from the container once they reach at least 1 inch tall and transplant them to individual seedling pots or cells.
Before you begin, prepare the pots with a moist, quality potting mix.
Then, you can use a spoon handle to remove plants from the germination tray and place them into the pots.
Do not worry if you end up with two or three seedlings in each clump. Just ensure you keep as much soil on the roots as possible.
Poke a hole in the potting mix and place one set of seedlings per cell.
Press gently to remove any air pockets, then water gently.
Put the seedling pots in a well-lit spot, watering when necessary until you are ready to transplant.
4. Transplant Seedlings To Growing Area
Transplant seedlings once they reach at least 3 inches tall and begin to develop woody stems.
You can transplant them outside after the soil temperature reaches at least 70°F.
This is usually around Spring time in temperate regions or year-round in the tropics.
However, I prefer to grow at least one plant in containers since thyme plants do not need much water and grow poorly during the rainy season.
Thyme grows best in moist, well-drained soils, where they can receive full sunlight throughout the day.
They can grow large, so space them at least 12 inches apart.
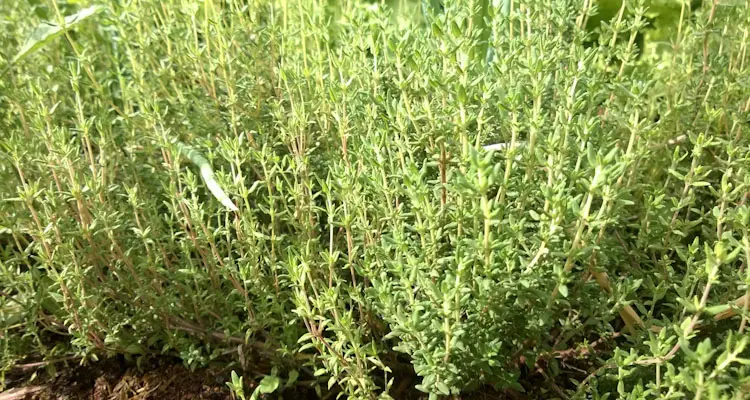
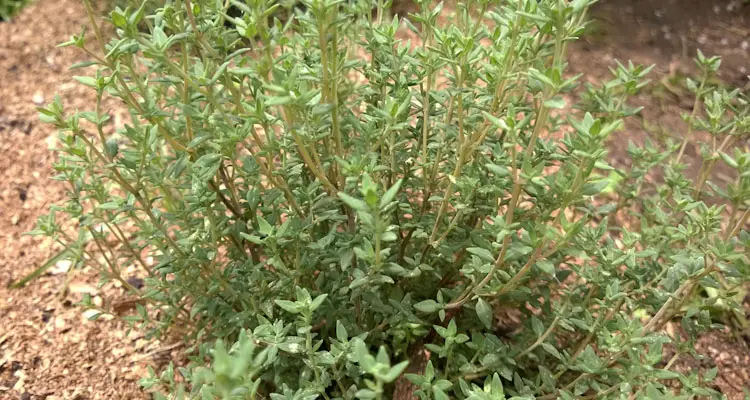
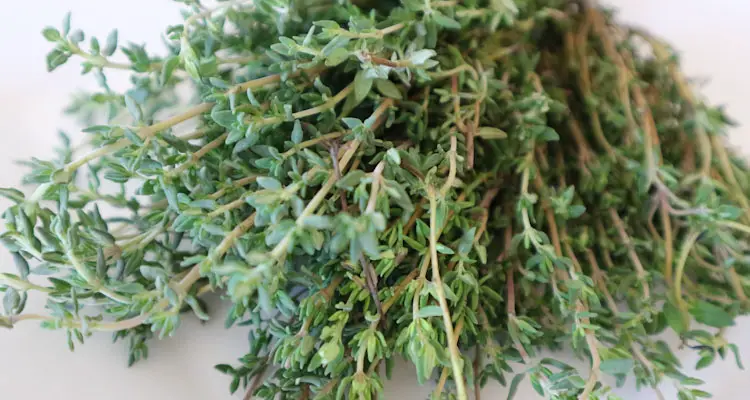
5. Harvest Thyme Leaves
Thyme plants can take 90 days or more to reach maturity. However, you can start to take pieces of stems as needed.
Once the plant matures, you can harvest thyme leaves by pruning the stem periodically.
Avoid trimming more than ⅓ of the plant at a time and allow it to regrow at least two to three weeks before harvesting from the same plant again.
However, you must prune the plant after it flowers to stimulate new growth. If you neglect this, your plant will become woody and die much sooner than expected.
Tips For Growing Thyme In Pots
Due to the weather, many of our fine-leaf thyme plants do not survive more than one year outside. As a result, we grow thyme in pots for cooking year-round.
You need to use a fertile, well-drained compost or potting mix to do this. Add some perlite or vermiculite for added drainage.
You will need to add slow-releasing organic fertilizer to the soil at least once per month to provide the plant with nutrients without overfertilizing.
Water the plants only when necessary. The soil should be kept moist but not soggy. A large container will help retain moisture and support the plant as they grow.
Prune the plant to keep it healthy. This will stimulate new growth and provide an abundance of leaves. You can dry the excess leaves for use later.
If you take care of your thyme plants, they can live for several years.
Related Questions
How long does it take to grow Thyme from seed?
Thyme seeds can germinate in 2 to 3 weeks and reach maturity within 3 months from sowing, depending on the variety, temperate, and other growing conditions.
Is Thyme difficult to grow from seed?
Thyme is not difficult to grow from seed, but it requires patience and care to keep them moist as you wait for them to germinate.
Do I need to soak Thyme seeds before planting?
No, you do not need to soak thyme seeds before planting. Yet, pressing gently on the moist soil when sowing would be helpful to ensure soil-to-seed contact.
What is the best way to grow Thyme from seed?
The best way to grow thyme from seed is to start in a container and then transplant them to their final growing area after their stems become woody.